A Savory Sweet Salsa With Fire Roasted Tomatoes And Peaches
Can you believe it's already the end of summer? I want to make it last, and what better way to extend this vibrant season than with Ball®'s Fire Roasted Tomato Peach Salsa!
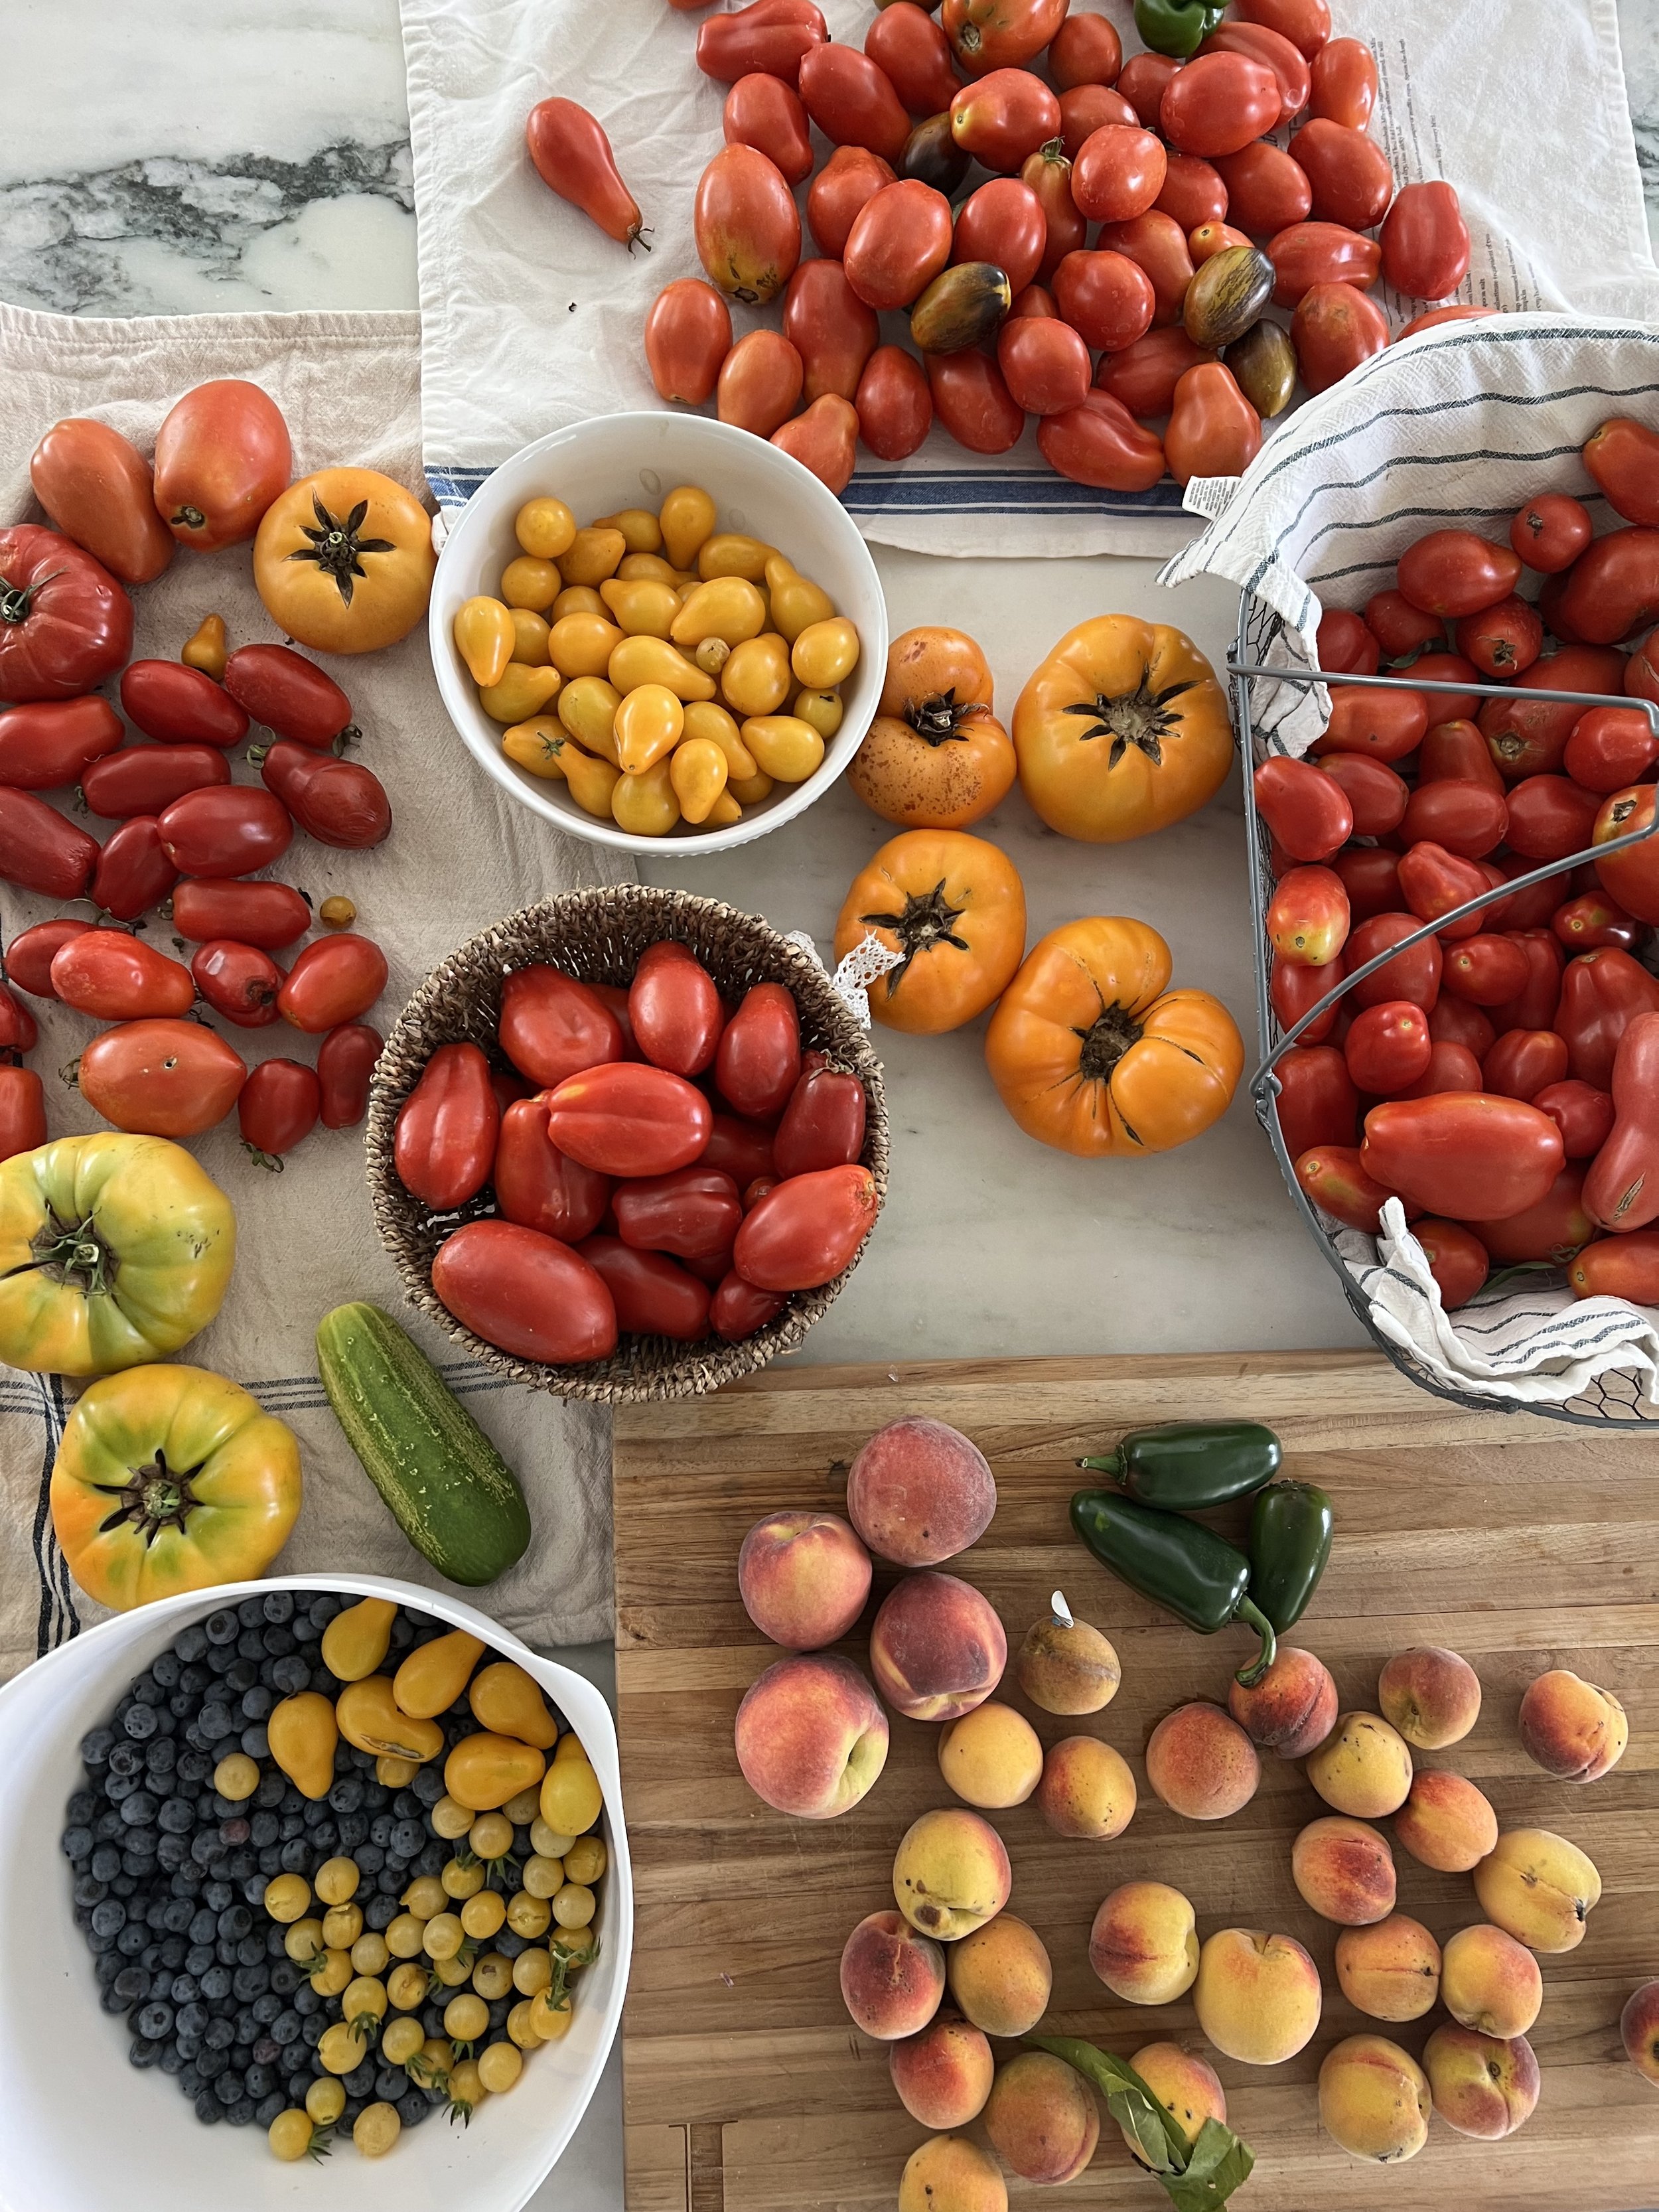
Using succulent peaches with the cozy sweetness of brown sugar and a fiery habanero pepper makes this salsa oh-so-delicious! Roasting tomatoes, peaches, peppers, and onions gives it a lovely charred flavor that reminds you of hot summer days and barbeques with friends.
Whether you're planning a lazy Sunday picnic, a spontaneous weeknight dinner, or a full-blown backyard party, this salsa will be a hit with everyone!
This post is sponsored by the makers of Ball® home canning products.*


Fire roasted tomato & peach salsa recipe
Give your salsa a taste of the South with yummy yellow peaches, tomatoes, and habanero peppers.
I love how the peaches, tomatoes, onions, and pepper are lightly grilled to give that unique charred flavor and the salsa more depth.
Preserving Method: Water Bath Canning
Makes: About 4 (16 oz) pint jars Get them HERE
Processing Time: 20 Minutes
ingredients:
2 lbs firm-ripe yellow peaches (6 peaches), halved and pitted, 2 cups prepared
2 lbs ripe tomatoes, stem removed, halved, 6 large, 2 cups prepared
1 small red onion, peeled and halved
1 small red or yellow pepper, halved and seeded
2 Tbsp minced habanero, serrano or jalapeno
3/4 cup bottled lime juice
1 tsp salt
2 Tbsp brown sugar
1 cup roughly chopped cilantro
Note! It is crucial to use yellow peaches and not white peaches. White peaches require a different level of acidity, which would make it difficult to ensure the recipe is safe when canning.
Directions:
step 1
Preheat the grill to medium (or the broiler to high).
Place peaches, tomatoes, red pepper, and onion halves skin side down on a grill pan and cook over medium flame until slightly charred, about 8-10 minutes. Remove from heat and let cool. (If using a broiler, place fruits and vegetables on a baking sheet skin side up and broil until charred.) I used a broiler and it worked great!
STEP 2
Fill your water bath canner with enough water to cover jars by 1-2 inches and bring to a simmer. Keep your jars in the hot water (not boiling) until you are ready to add the food content. Wash lids in warm soapy water and set aside with bands.
Always make sure all equipment, working space, and produce you use is clean to minimize the risk of bacteria ending up in your canned goods. You also want to check for any dents in the bands and lids and discard them if you find any.
step 3
Dice peaches and tomatoes, leaving the charred skin on. Dice the red onion halves and red pepper. Combine everything except the cilantro in a 4-quart saucepan. Bring to a simmer over medium heat, stirring frequently. Simmer until the peaches have softened slightly and the flavors have combined, about 10 minutes. Stir in cilantro.
step 4
Ladle the hot salsa into a jar, leaving 1/2 inch of headspace. Remove any air bubbles with the bubble remover or a rubber spatula by sliding the tool down the side of the jar, then pulling inwards.
Rotate and repeat around the jar as needed until all bubbles are removed. Repeat this two to three times.
Wondering why it is essential to remove air bubbles?
When air bubbles are not removed, the air trapped by the food will add to the headspace and too much headspace can lead to seal failures.
STEP 5
Wipe the rim and threads using a damp cloth to remove any food residue. Place the lid on and screw the band on until it is fingertip-tight.
Using your jar lifter, place the jar upright into the simmering water and onto the rack. Your jars should be covered with 1-2 inches of water; if not, add more water. Repeat steps 4 - 5 for each jar one at a time until all your filled jars have been placed into the canner.
step 6
Turn the heat up, and wait until you hear or see the water vigorously boiling (rolling boil). The processing time of a recipe only starts when the water has reached boiling point.
Start your timer and process the jars for 20 minutes, adjusting for altitude. After processing, turn off the heat, remove the lid, and let the jars stand for 5 minutes.
STEP 7
Carefully remove the jars, one at a time, with the jar lifter. Keep them upright, and place your jars on a towel or wood cutting board. Never place them directly onto a cold surface or countertop to prevent cracking due to thermal shock.
Leave the jars untouched for 12-24 hours. Do not tamper with the lids or bands or wipe away water ;-)
After 12-24 hours, check if the lids have been sealed. Press the center - A properly sealed jar lid will not spring up when you press down in the center. Remove the band and use a finger to press down on the middle of the lid. If the lid springs up when you lift your finger, the jar must be reprocessed before you can store it safely.

What to do when jars didn’t seal?
When your jars don't seal after processing, you have a couple of choices depending on what you are canning:
Enjoy the food that very same day. Make a delicious lunch or dinner!
Store it in the refrigerator and use it within a couple of days.
Place the jar in the freezer (if it is a freezer-safe jar) and enjoy it at a later stage.
Reprocess the unsealed jar – here's how:
Check the jar rim for any chips, cracks, or dents which may have caused the inability to seal. Replace the jar if necessary and use a new lid.
Adjust the headspace again.
Follow the canning recipe again and reprocess the jar in the water bath canner.
print this recipe

roasted tomato & peach salsa
Preserving Method: Water Bath Canning
Makes: About 4 (16 oz) pint jars
Processing Time: 20 Minutes
INGREDIENTS:
2 lbs firm-ripe yellow peaches (6 peaches), halved and pitted, 2 cups prepared
2 lbs ripe tomatoes, stem removed, halved, 6 large, 2 cups prepared
1 small red onion, peeled and halved
1 small red or yellow pepper, halved and seeded
2 Tbsp minced habanero, serrano or jalapeno
3/4 cup bottled lime juice
1 tsp salt
2 Tbsp brown sugar
1 cup roughly chopped cilantro
DIRECTIONS:
Step 1
Preheat the grill to medium (or the broiler to high). Place peaches, tomatoes, red pepper, and onion halves, skin side down, on a grill pan, and cook over medium flame until slightly charred, about 8-10 minutes. Remove from heat and let cool. (If using a broiler, place fruits and vegetables on a baking sheet skin side up and broil until charred.)
Step 2
Fill your water bath canner with enough water to cover jars by 1-2 inches and bring to a simmer. Keep your jars in the hot water (not boiling) until you are ready to add the food content. Wash lids in warm soapy water and set aside with bands.
Step 3
Dice peaches and tomatoes, leaving the charred skin on. Dice the red onion halves and red pepper. Combine everything except the cilantro in a 4-quart saucepan. Bring to a simmer over medium heat, stirring frequently. Simmer until the peaches have softened slightly and the flavors have combined, about 10 minutes. Stir in cilantro.
Step 4
Ladle the hot salsa into a jar, leaving 1/2 inch of headspace. Remove any air bubbles with the bubble remover or a rubber spatula by sliding the tool down the side of the jar, then pulling inward.
Step 5
Wipe the rim and threads using a damp cloth to remove any food residue. Place the lid on and screw the band on until it is fingertip-tight.
Using your jar lifter, place the jar upright in the simmering water and onto the rack. Your jars should be covered with 1-2 inches of water; if not, add more water. Repeat steps 4 - 5 for each jar one at a time, until all your filled jars have been placed into the canner.
Step 6
Turn the heat up, and wait until you hear or see the water vigorously boiling (rolling boil). The processing time of a recipe only starts when the water has reached boiling point. Start your timer and process the jars for 20 minutes, adjusting for altitude. After processing, turn off the heat, remove the lid, and let the jars stand for 5 minutes.
Step 7
Carefully remove the jars, one at a time, with the jar lifter. Keep them upright, and place your jars on a towel or wood cutting board. Never place them directly on a cold surface or countertop to prevent cracking due to thermal shock.
Leave the jars untouched for 12-24 hours. Do not tamper with the lids or bands or wipe away water ;-)
After 12-24 hours, check if the lids have been sealed. Press the center - A properly sealed jar lid will not spring up when you press down in the center. Remove the band and use a finger to press down on the middle of the lid. If the lid springs up when you lift your finger, the jar must be reprocessed before you can store it safely.
Let me know if you make this yummy salsa and if you like it?!
Serve this salsa with basically anything your heart desires, but it works perfectly with tacos, quesadillas, flatbread, or served with crackers and your favorite cheese.
Have a look at these recipes and resources:
Fresh and fruity pineapple and mango salsa
Honey-spiced peaches canning recipe
Sweet and spicy candied jalapenos
Canning vegetables and fruits - the essentials you need to know
Love, Annette xx
pin for later

canning course
Whether you are a total newbie (we have all been there!) or would like to improve your canning skills, this canning course is IT!
After this course, canning will feel like a breeze, and you will be an expert canner, making delicious canning recipes for many years to come.
You will learn everything you need to know about how to can food effectively and safely at home, overcoming any fears or doubts you may have.
THE COURSE INCLUDES:
*A total of 25 informative, interactive videos taking you from start to finish,
covering everything there is to know about canning.
*The do's and don'ts of canning.
*Your most common canning questions answered and fears addressed.
*The best practices and tips for perfect canning.
*Five of my favorite delicious canning recipes that are great for beginners.
*An e-book with over 30 pages of information and recipes to guide you through the course.
The course is included in our HOMEGROWN membership platform.
By signing up, you'll have access to the canning course plus our gardening course,
how to raise chickens course, and many more!
For a small fee of $5.99/month or $49 for the year, you have years of experience, trial and error, and knowledge right at your fingertips.