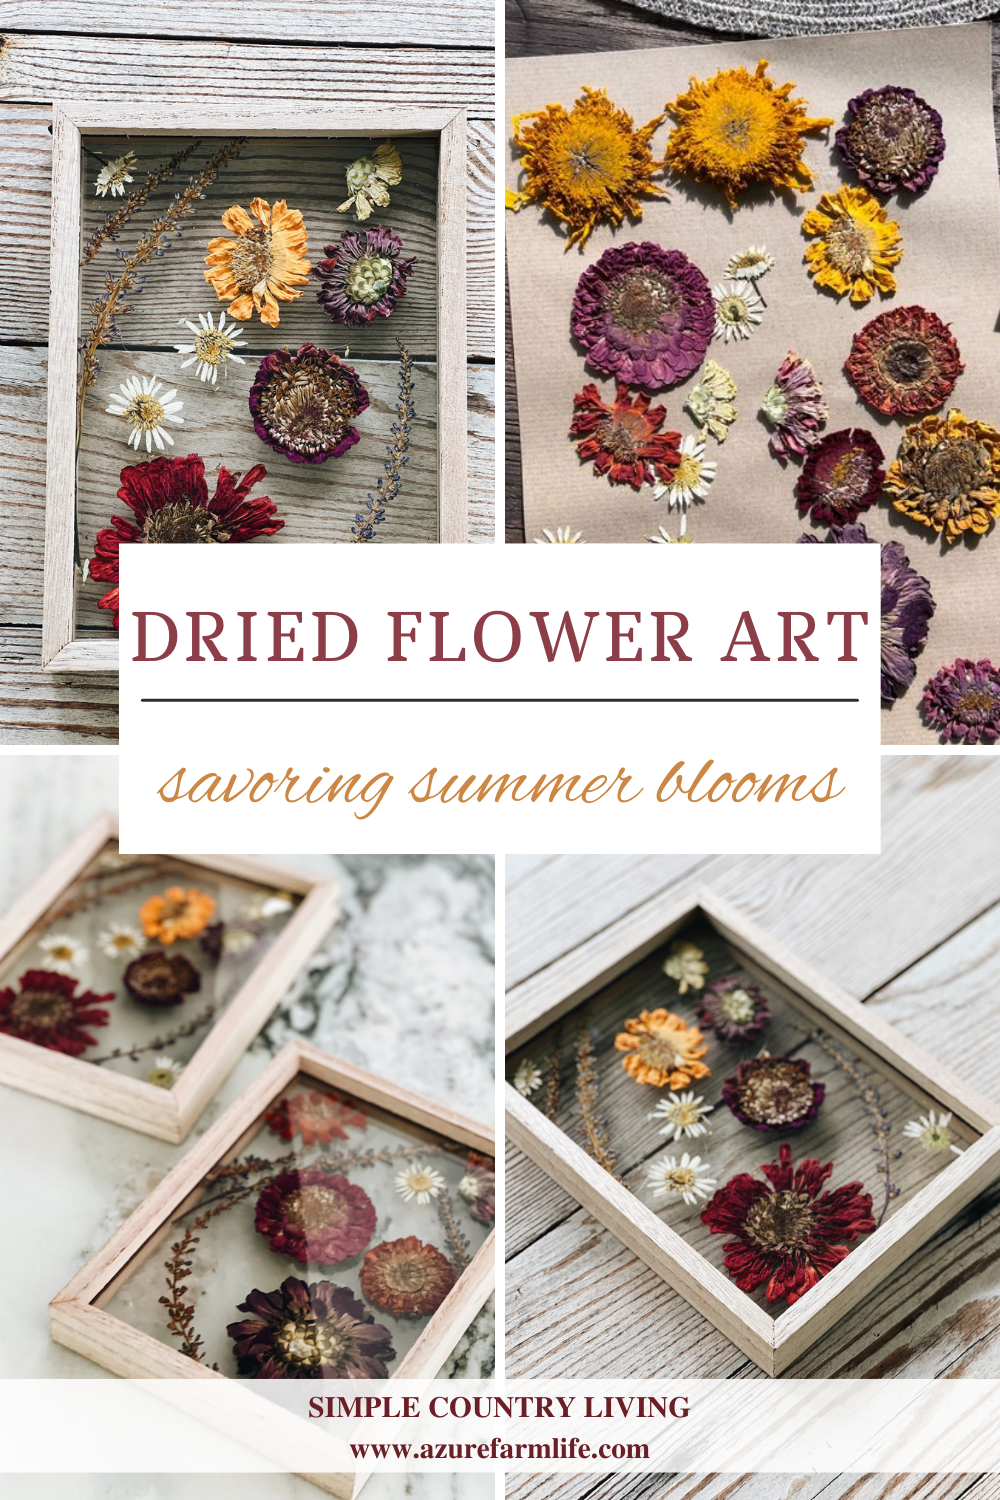
A DIY Summer Activity Making Gorgeous Dried Flower Art
Being able to spend time in our garden, watching the flowers enchant the landscape with their gorgeous colors, is one privilege I am sincerely grateful for.
And even more so when I can share this blessing with my daughter Ava and enjoy the beauty together.
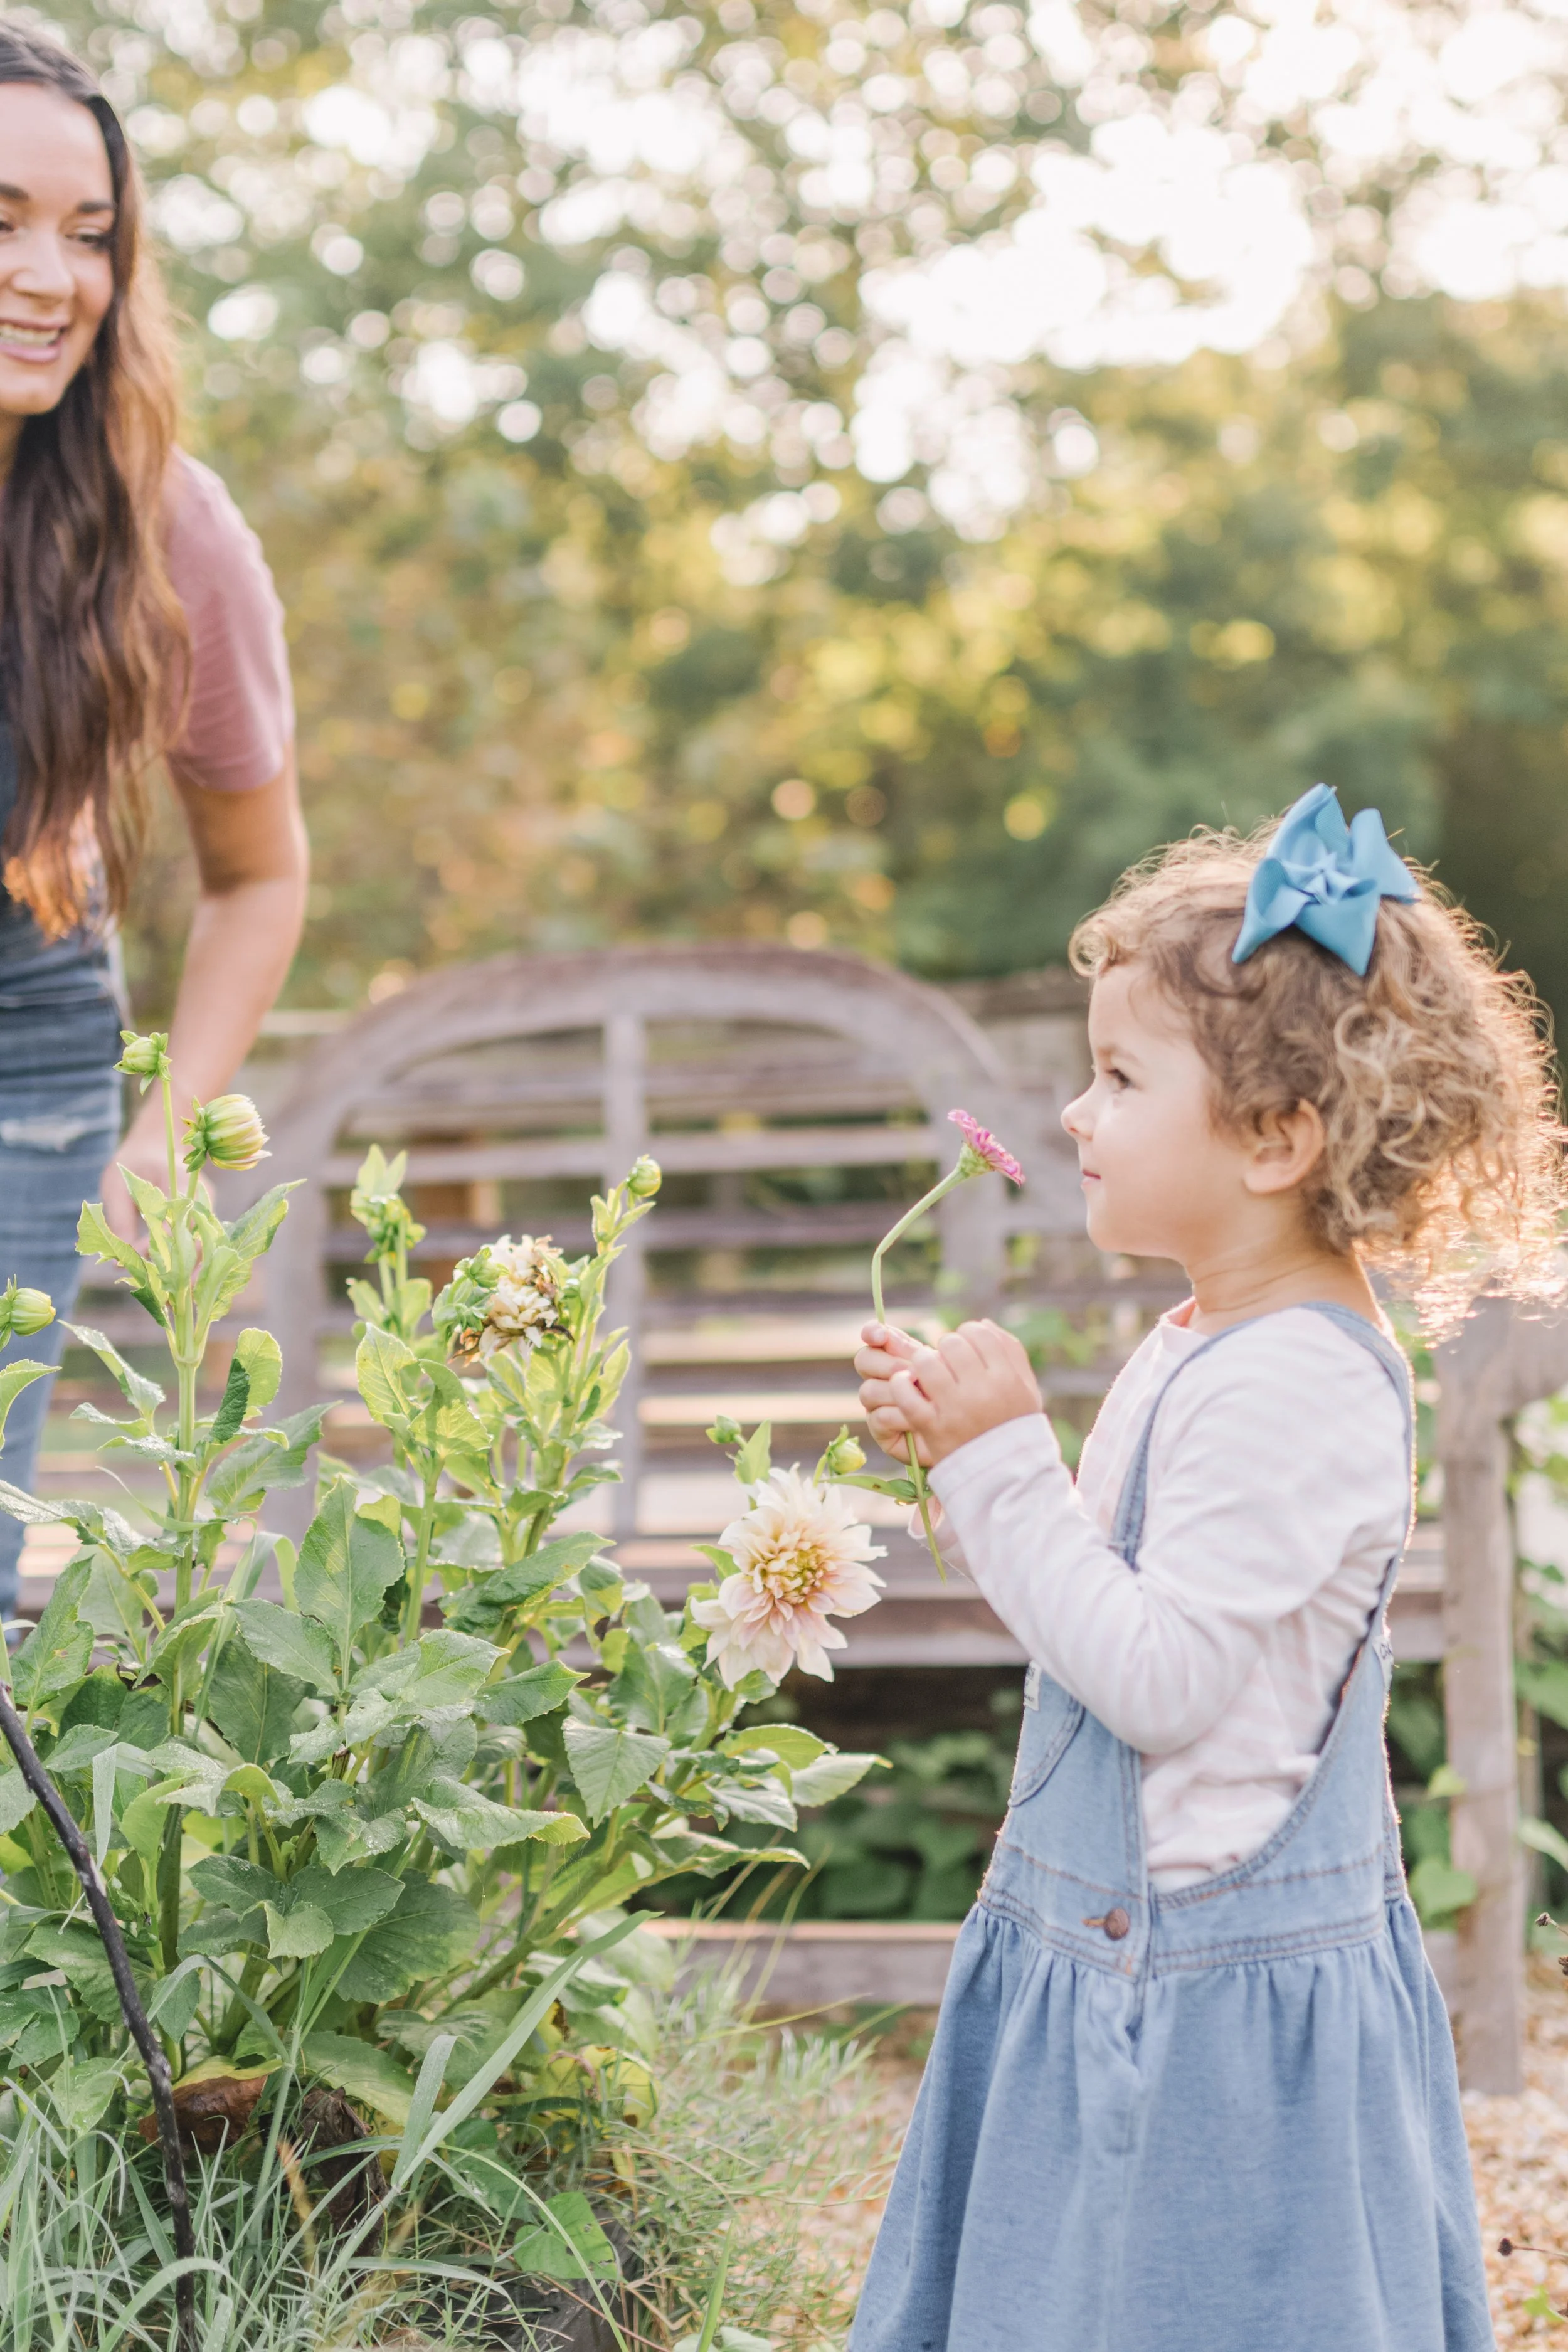
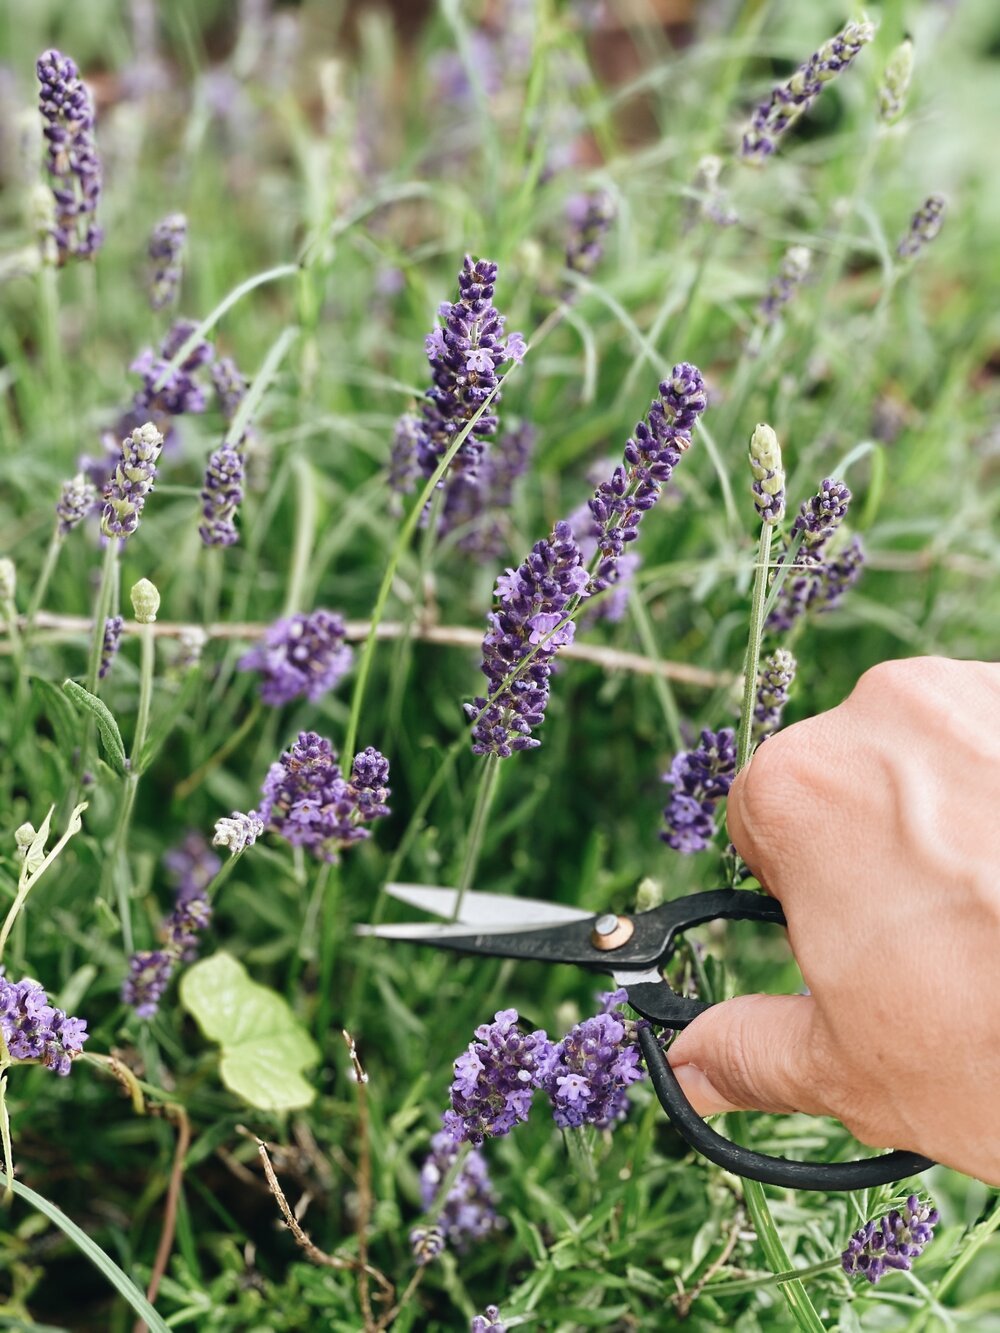
When the summer blooms are in full swing, I always try to find ways to enjoy the beautiful flowers. Whether by simply picking some for the home, taking beautiful photos, or making a floral wreath crown like this one.
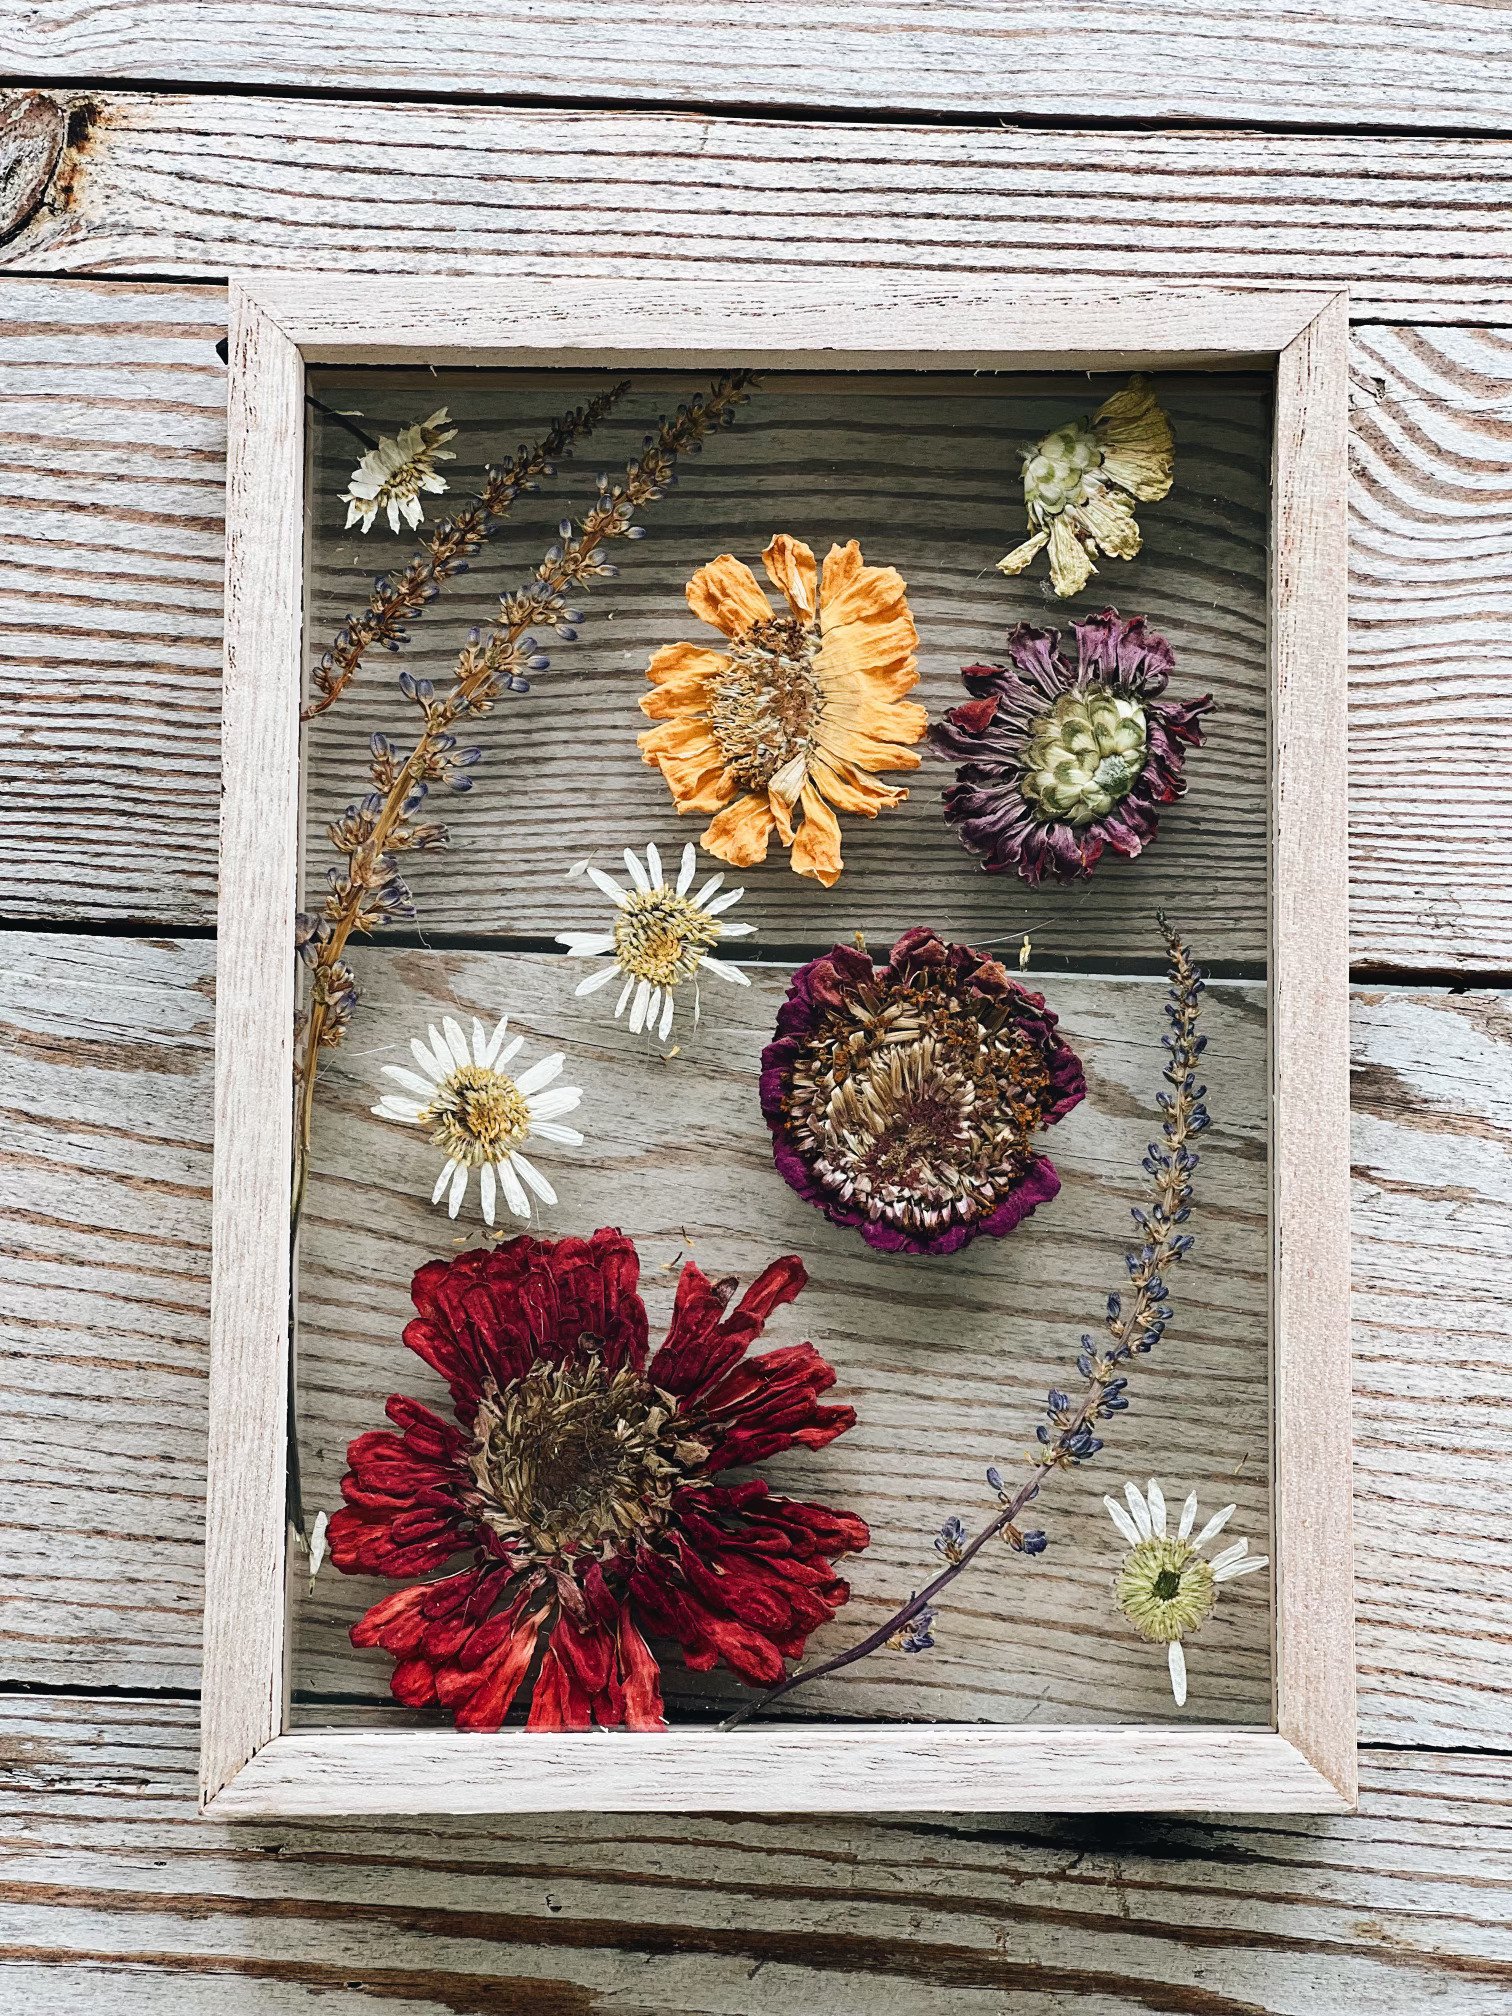
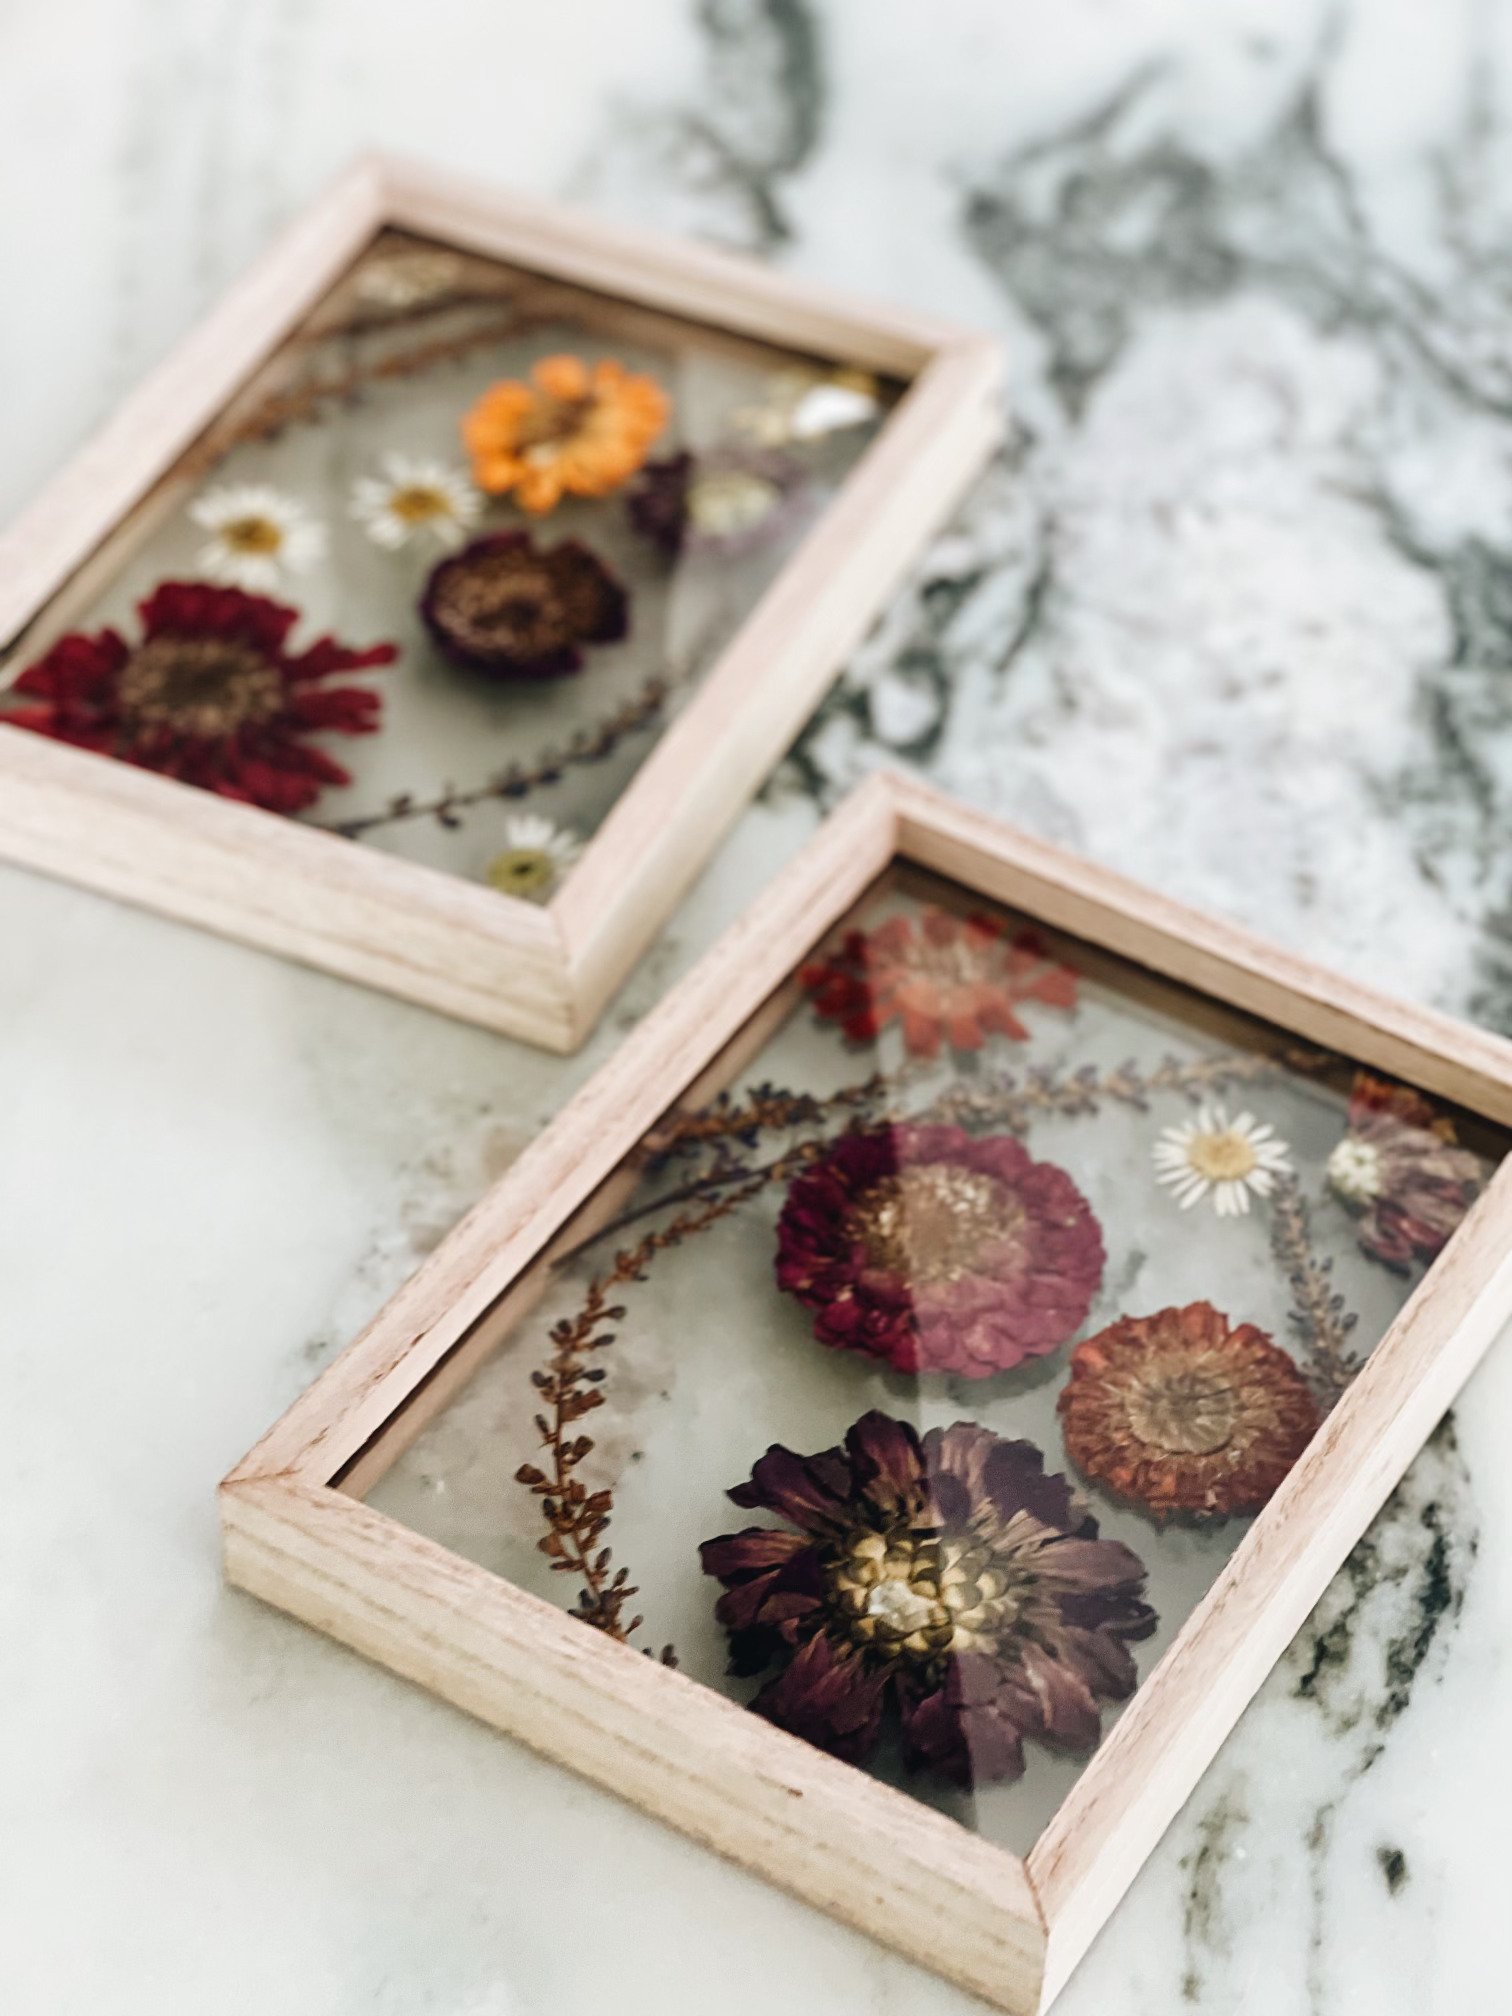
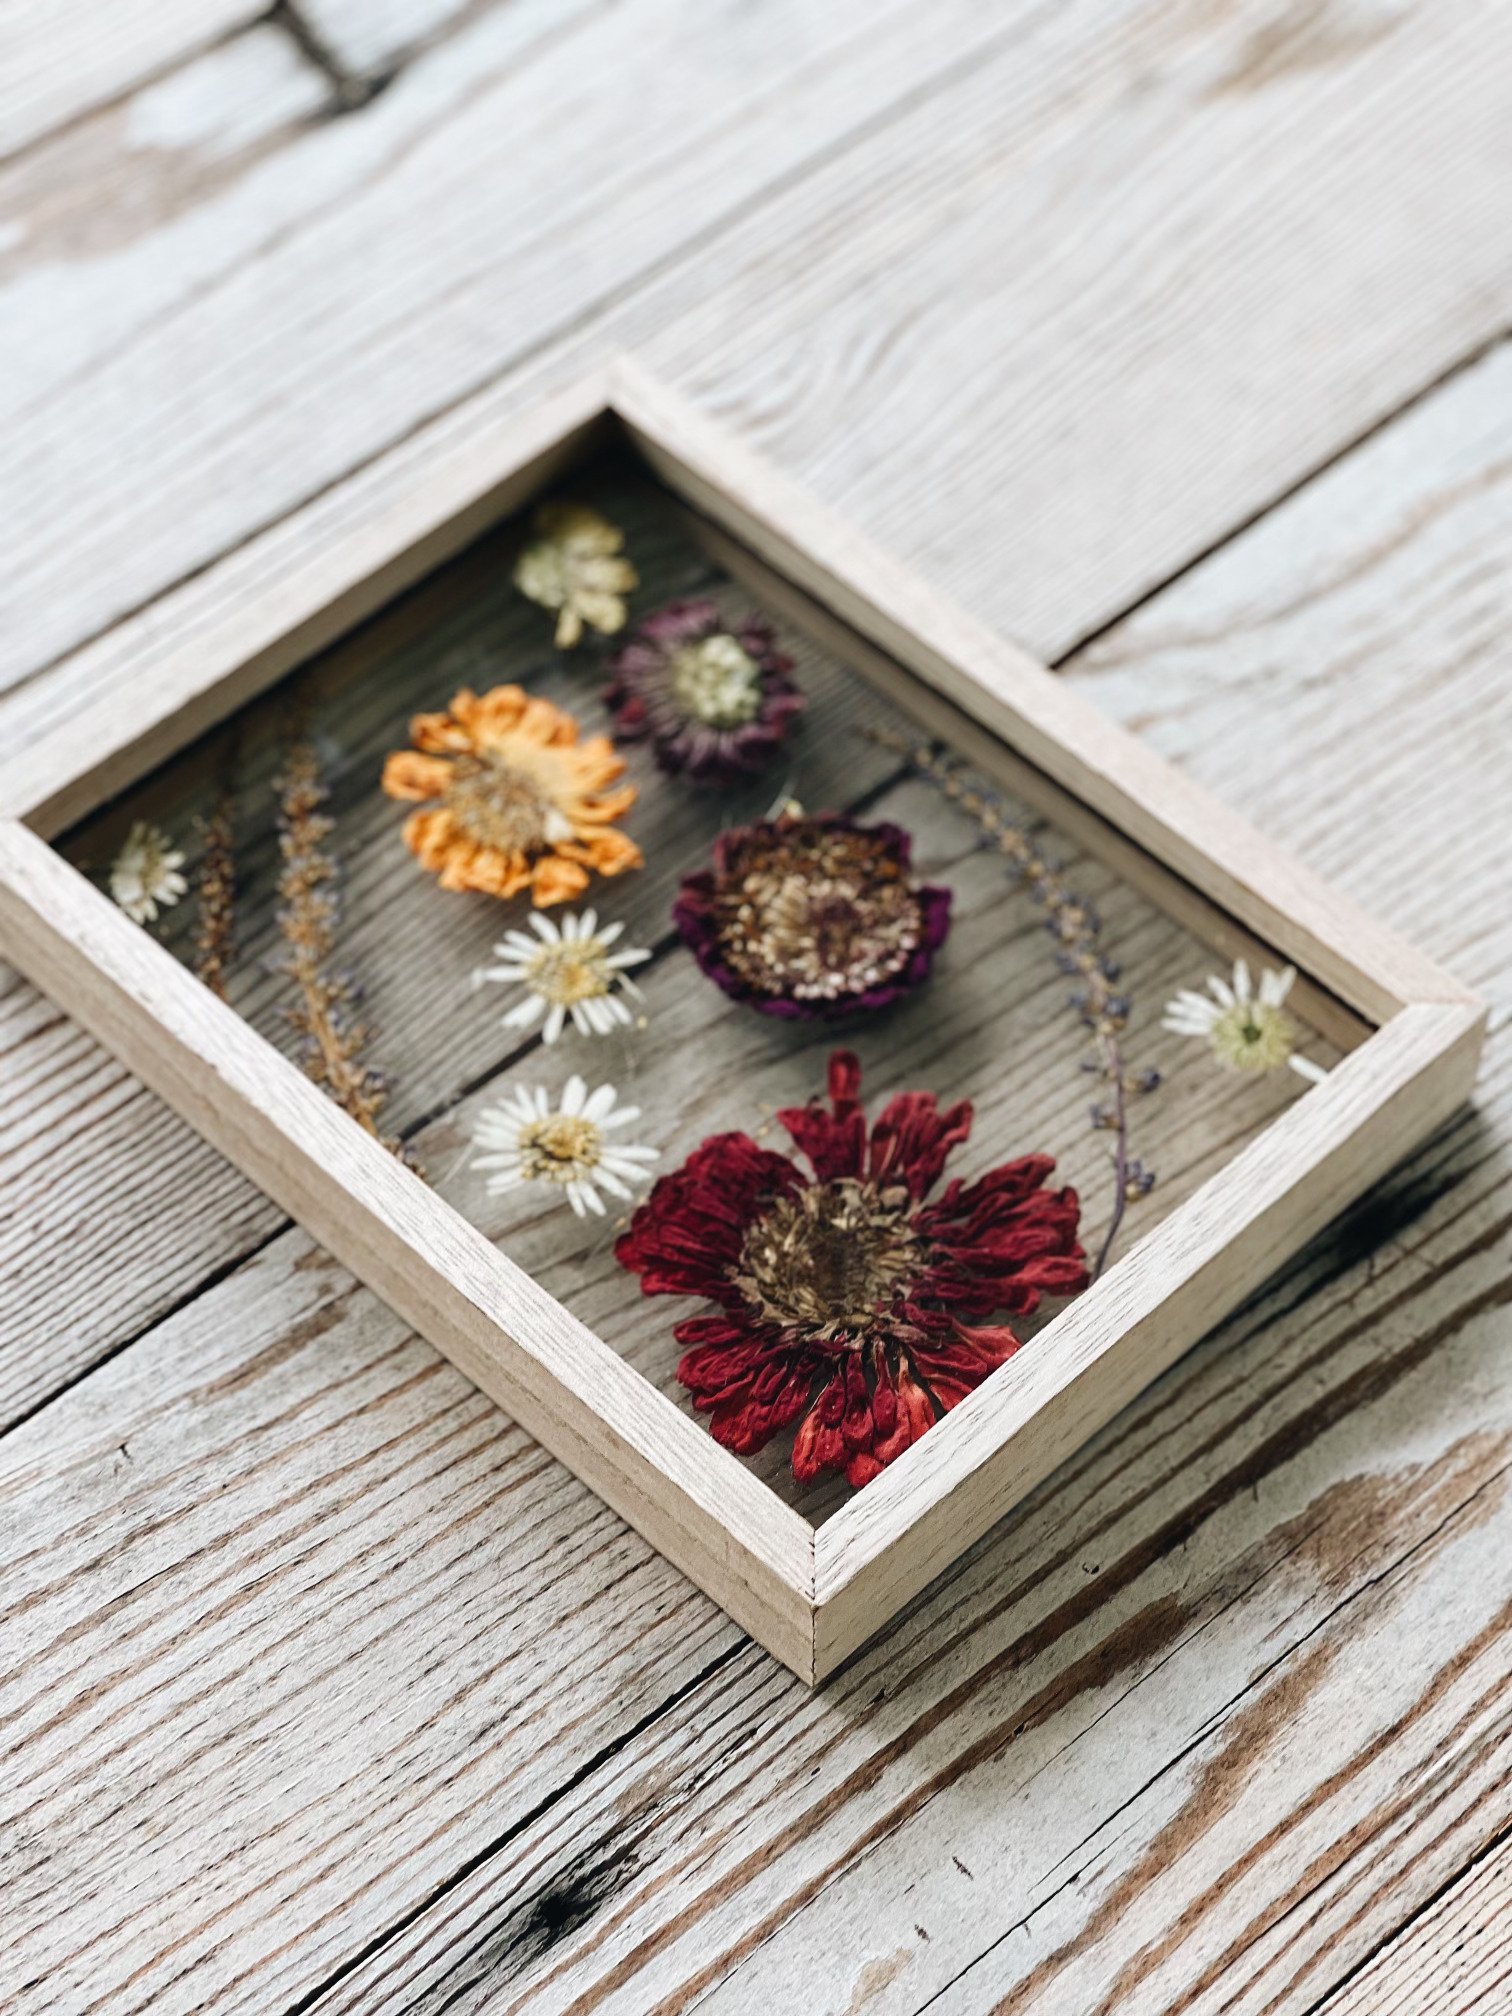
Another one of my favorite flower craft projects is framed dry flowers. And it is an activity that Ava and I can do together.
Dried flower art is a great way to preserve summer flowers and enjoy them through the winter months. It also makes an extraordinary beautiful gift, like these framed dried flowers we made.
The Best Flowers To Use For Dried Flower Art
The best flowers for dried flower art or pressing are those with lower moisture content and single-layer petals. They will dry quicker and preserve better.
Flowers with high moisture can lead to discoloration, mold, and turn brown.
Low moisture flowers and foilage suitable for pressing:
Eucalyptus
Fern leaves
Herbs
Lavender
Baby's breath
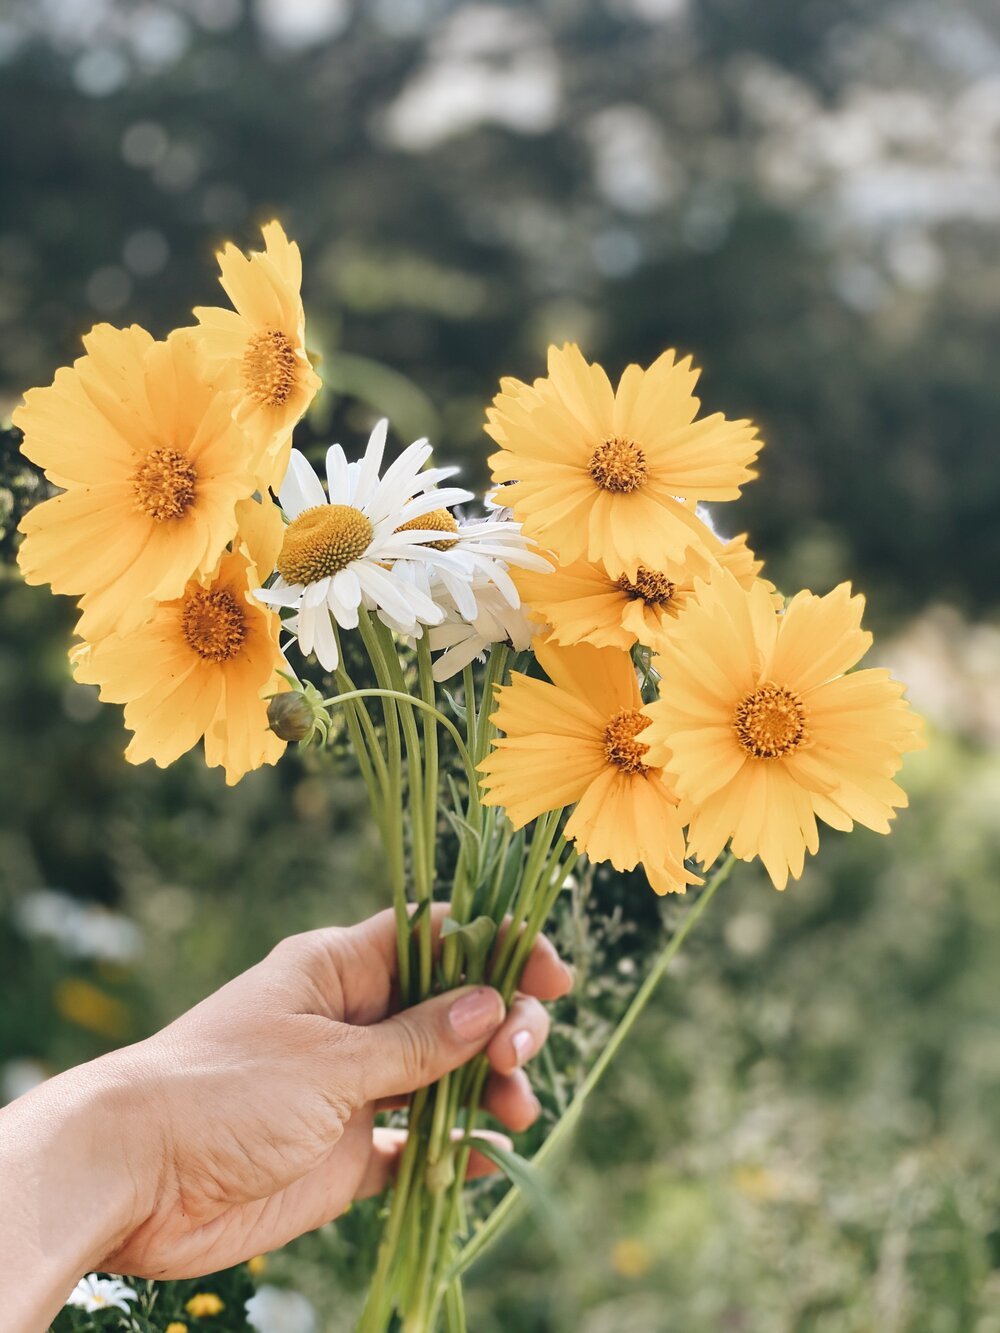
Cosmos
Daisies
Zinnias
Delphinium
Larkspur
Statice
Poppies
Forget me not

High moisture flowers that might not work that well:
Dahlias
Daffodils
Tulips
Snapdragons
Chrysanthemums
Lisianthus
Peonies
Large roses
READ MORE: MY TOP 12 SUGGESTIONS FOR THE EASIEST FLOWERS TO GROW
How To Press Flowers For Your Dried Flower Art
1. The first step is collecting the flowers and foliage you want to press. Freshness and dryness are key.
Freshly bloomed flowers that you have just cut and no dew on them will press and preserve the best. Drying the flowers as quickly as possible will also prevent browning.
2. Remember that all imperfections will be magnified when dried and pressed, so choose the prettiest and healthiest flowers. If your flowers have more layers, thin them out or cut them to the size you prefer. Gently clean up any debris or small bugs like ants.
3. Have your moisture-absorbing papers ready. Standard printer paper, flat cardboard, non-corrugated coffee filters, or plain smooth facial tissues are all excellent options.
Avoid paper towels, glossy, waxed, and parchment paper. These may imprint on the petals and not absorb the moisture.
4. Place the flowers between two papers which you will then place within a book. Ensure the flowers have enough space between them, so no moisture is transferred between them.
5. Have your presser ready. This can be a heavy book, heavy wooden blocks, or a flower press book like this one from gardeners.com. Place the enfolded flowers within the book or whatever you will use as a press.
If you don't mind the moisture and dyes released from the flowers that could stain the book, you can place them directly in the book.
6. Place the book in a spot where it will not get disturbed and add some extra weight like a brick or more books.
7. After two to three weeks, the flowers will be dry. You can have a peek every now and then!

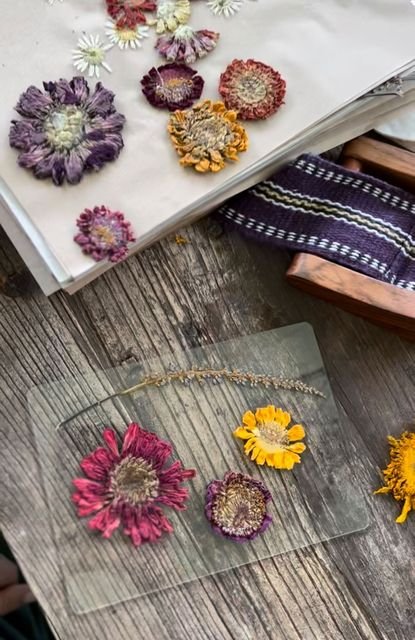
8. Remove the flowers gently, as dried flowers are very delicate.
9. Use them to make framed dry flowers as we have, or any other dried flower art projects such as bookmarks, greeting cards, or resin coasters for those who are extra crafty!
10. Pressed flowers can maintain their color for up to 5-7 years, whereafter, they will inevitably fade.
What a fun activity! It is a beautiful way to preserve the memories from summer, and so much fun to do with the little ones! This also makes a beautiful, thoughtful, and inexpensive gift!
Love, Annette xx
READ MORE:
GARDENING WITH KIDS: TIPS, ACTIVITIES, AND ALL THE BENEFITS IT BRINGS
PIN FOR LATER