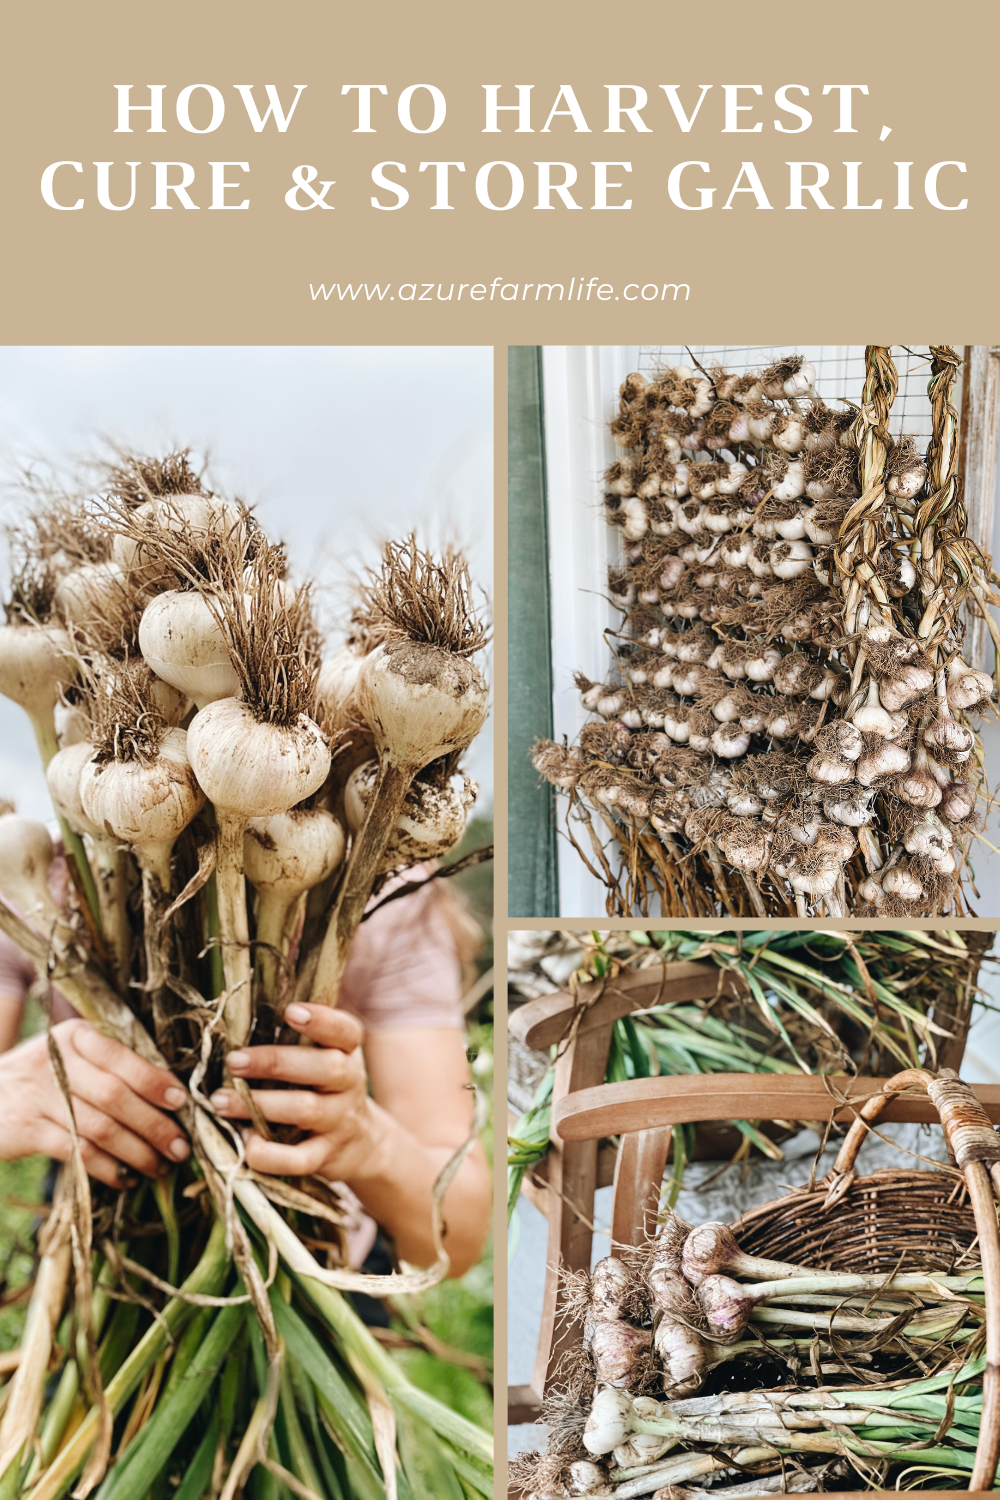
How To Harvest, Cure, And Store Garlic For The Longterm
Garlic can be enjoyed for months after you harvest it. How? By curing them!
The secret lies in the garlic variety and how well it's cured and stored.
And since you waited patiently for seven to nine months to grow them, I am sure you would want to savor and enjoy your harvest for as long as possible!
And curing your garlic will do exactly this.
Keep on reading to learn when your garlic is ready to harvest, how to cure garlic, and how to store garlic correctly so you can enjoy it for months to come!
READ MORE:
How to grow garlic cloves - A guide to growing healthy, flavorsome garlic bulbs
How to cure and store onions to enjoy them for many months to come


WHY SHOULD YOU CURE GARLIC?
Curing is the process of drying your garlic so it is suitable and stays fresh for long-term storage.
As your garlic is curing, its skin shrinks and turns papery, which forms a protective barrier against moisture, mold, and microorganisms that can cause rot.
Curing garlic allows you to enjoy it long after it is harvested, even up to twelve months if stored correctly.
Note! You do not have to cure garlic! Garlic is edible right after harvesting, and you can store them in the fridge for a few weeks. I always use bulbs that have been a little bruised or damaged straight away and cure those in perfect condition.
You only have to cure garlic if you want to store them long-term.
This will also allow you to use the garlic cloves from your harvest as seeds for next year's crop. How cool is that?!
When should you harvest your garlic?
Unfortunately for us, avid, eager gardeners, growing garlic takes a bit of patience. Garlic is a long-maturing crop, taking 25 to 30 weeks to grow from planting to harvest.
Depending on the variety, planting date, zone, and weather conditions, you can expect to harvest garlic from May to August.
And timing your garlic harvest can be tricky as they grow underground, and you cannot see the bulbs!
You want them left in the ground for as long as possible as the bulbs double in size in the last growing stage. But (there's always a but right) you also don't want to leave them so long that the cloves start to separate.
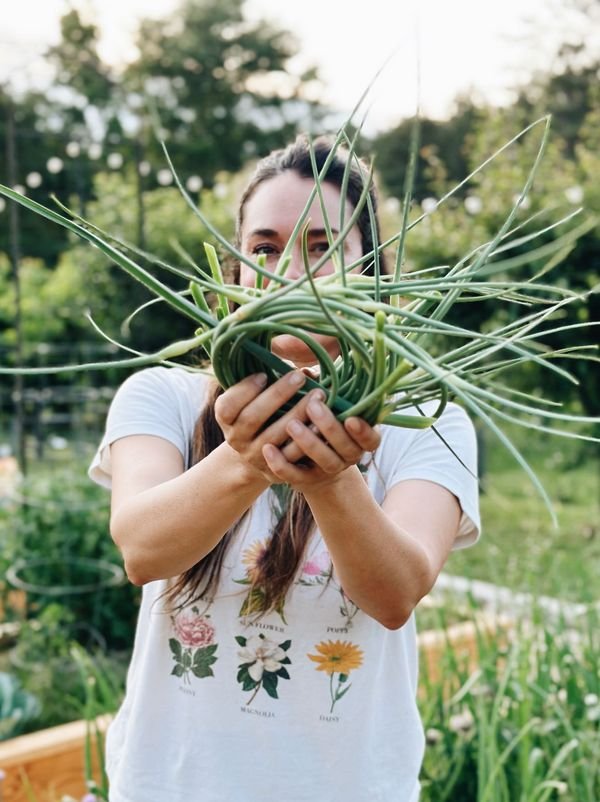
But nevertheless, if you harvest them a bit early, you can still eat the immature plants. This is called green garlic, like green onions, which you can store in the fridge and use within a few weeks.
a few tips to know when your garlic is ready to harvest:
Hardneck varieties
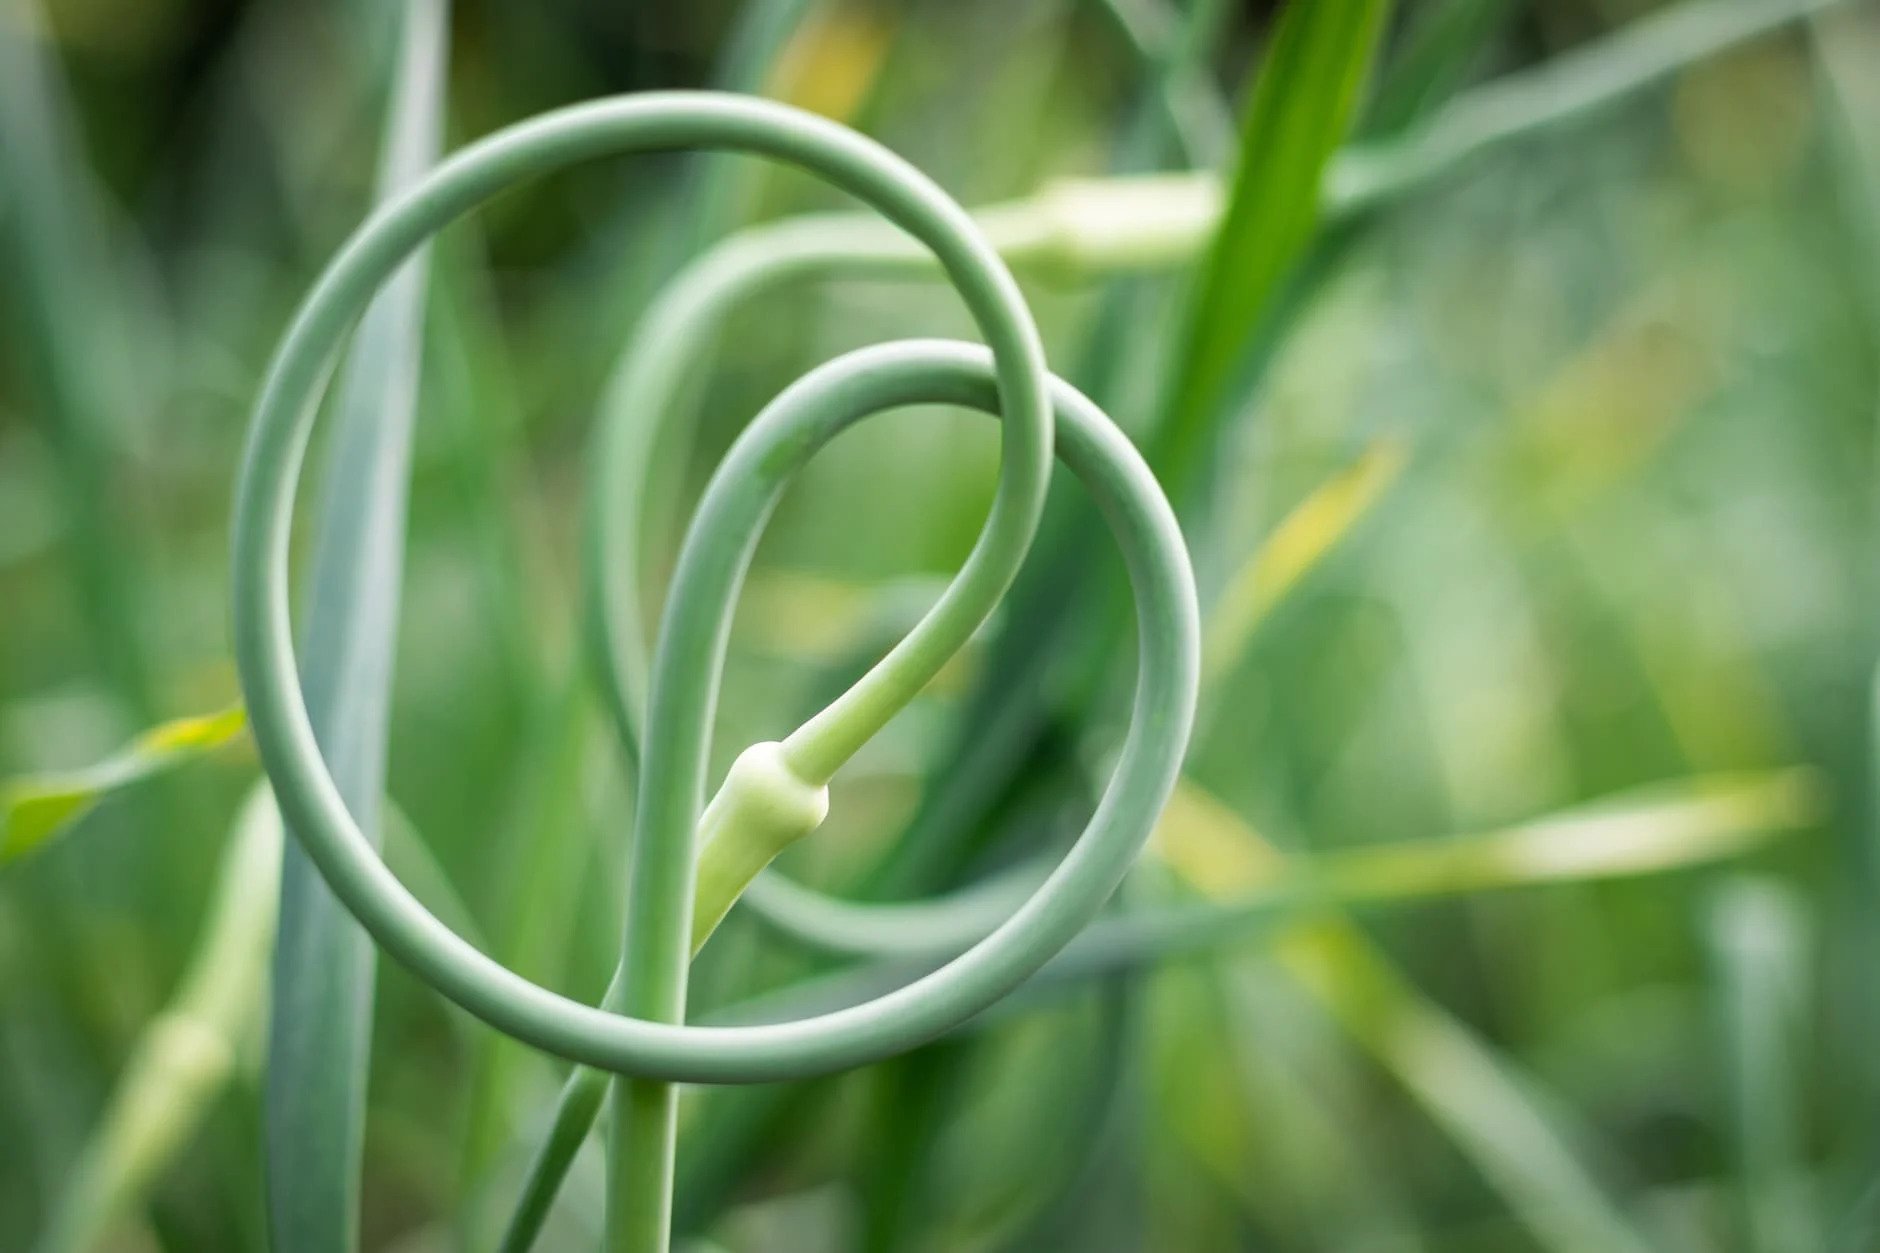
Hardneck varieties push scapes - a curly stem or flower stalk that comes from the center of the stem and will become a flower. You don't want this scape to continue to grow, as the plant will direct all its energy to the scape and not the bulb.
Once you see this scape (be careful, they pop up quickly), immediately cut it off. After you cut it, it's safe to say that you can harvest your hard-neck garlic in 4 weeks.
Hardneck varieties we love to grow:
Georgian Crystal (great flavor!)
German Extra Hardy
Chesnock Red
Romanian Red
Did you know? You can eat the scapes! Make this delicious garlic scape pesto.
Softneck varieties
Softneck varieties don't push scapes, so you need to look for other signs.
When about 40% of the leaves turn yellow, dry, and fall off, it is a good sign. The leaves will start to die off from the bottom first.
You can also check one bulb by cutting through the head sideways to see how the cloves have developed. Cloves should fill the wrappers - if they seem a little loose, let your garlic grow for a few more days.
Softneck varieties we love:
California White
Early Italian
Silver White
Keep an eye on your garlic and harvest before the bulbs pop, which can happen quickly. It is always better to harvest too early than too late.
Also, there can be a six- to eight-week span between when the earliest garlic is ready and when the latest-maturing garlic is harvested.
Read more below to learn more about the difference between soft and hardneck garlic varieties and which is better for your area and purpose.
READ MORE: How to grow garlic cloves - An easy guide to grow healthy, flavorsome garlic bulbs.
How to harvest and cure garlic
Step 1
When about 50 to 75 percent of your garlic has reached the above telltale signs—half of the leaves are brown and half are green—stop watering your garlic for 5-7 days so it can start to dry out in the ground, which makes harvesting easier.
Step 2
Use your hands, trowel, or shovel to carefully loosen the soil around the bulbs, being careful not to damage or bruise them. Gently pull the garlic out from the base of its stem, at its neck. Don't force pull it out, as this can cause wounding at the neck and allow for fungal infections.
STEP 3
Use your fingers or a soft brush to gently remove the excess soil. You will clean and tidy them up properly after they are cured. Do not remove the papery bulb wrappers, and do not wash or rinse them; you want to avoid moisture at all costs.
If little roots protrude from the bottom, do not cut them off at this stage, as doing so could promote rot. And don't cut off their leaves while curing.
STEP 4
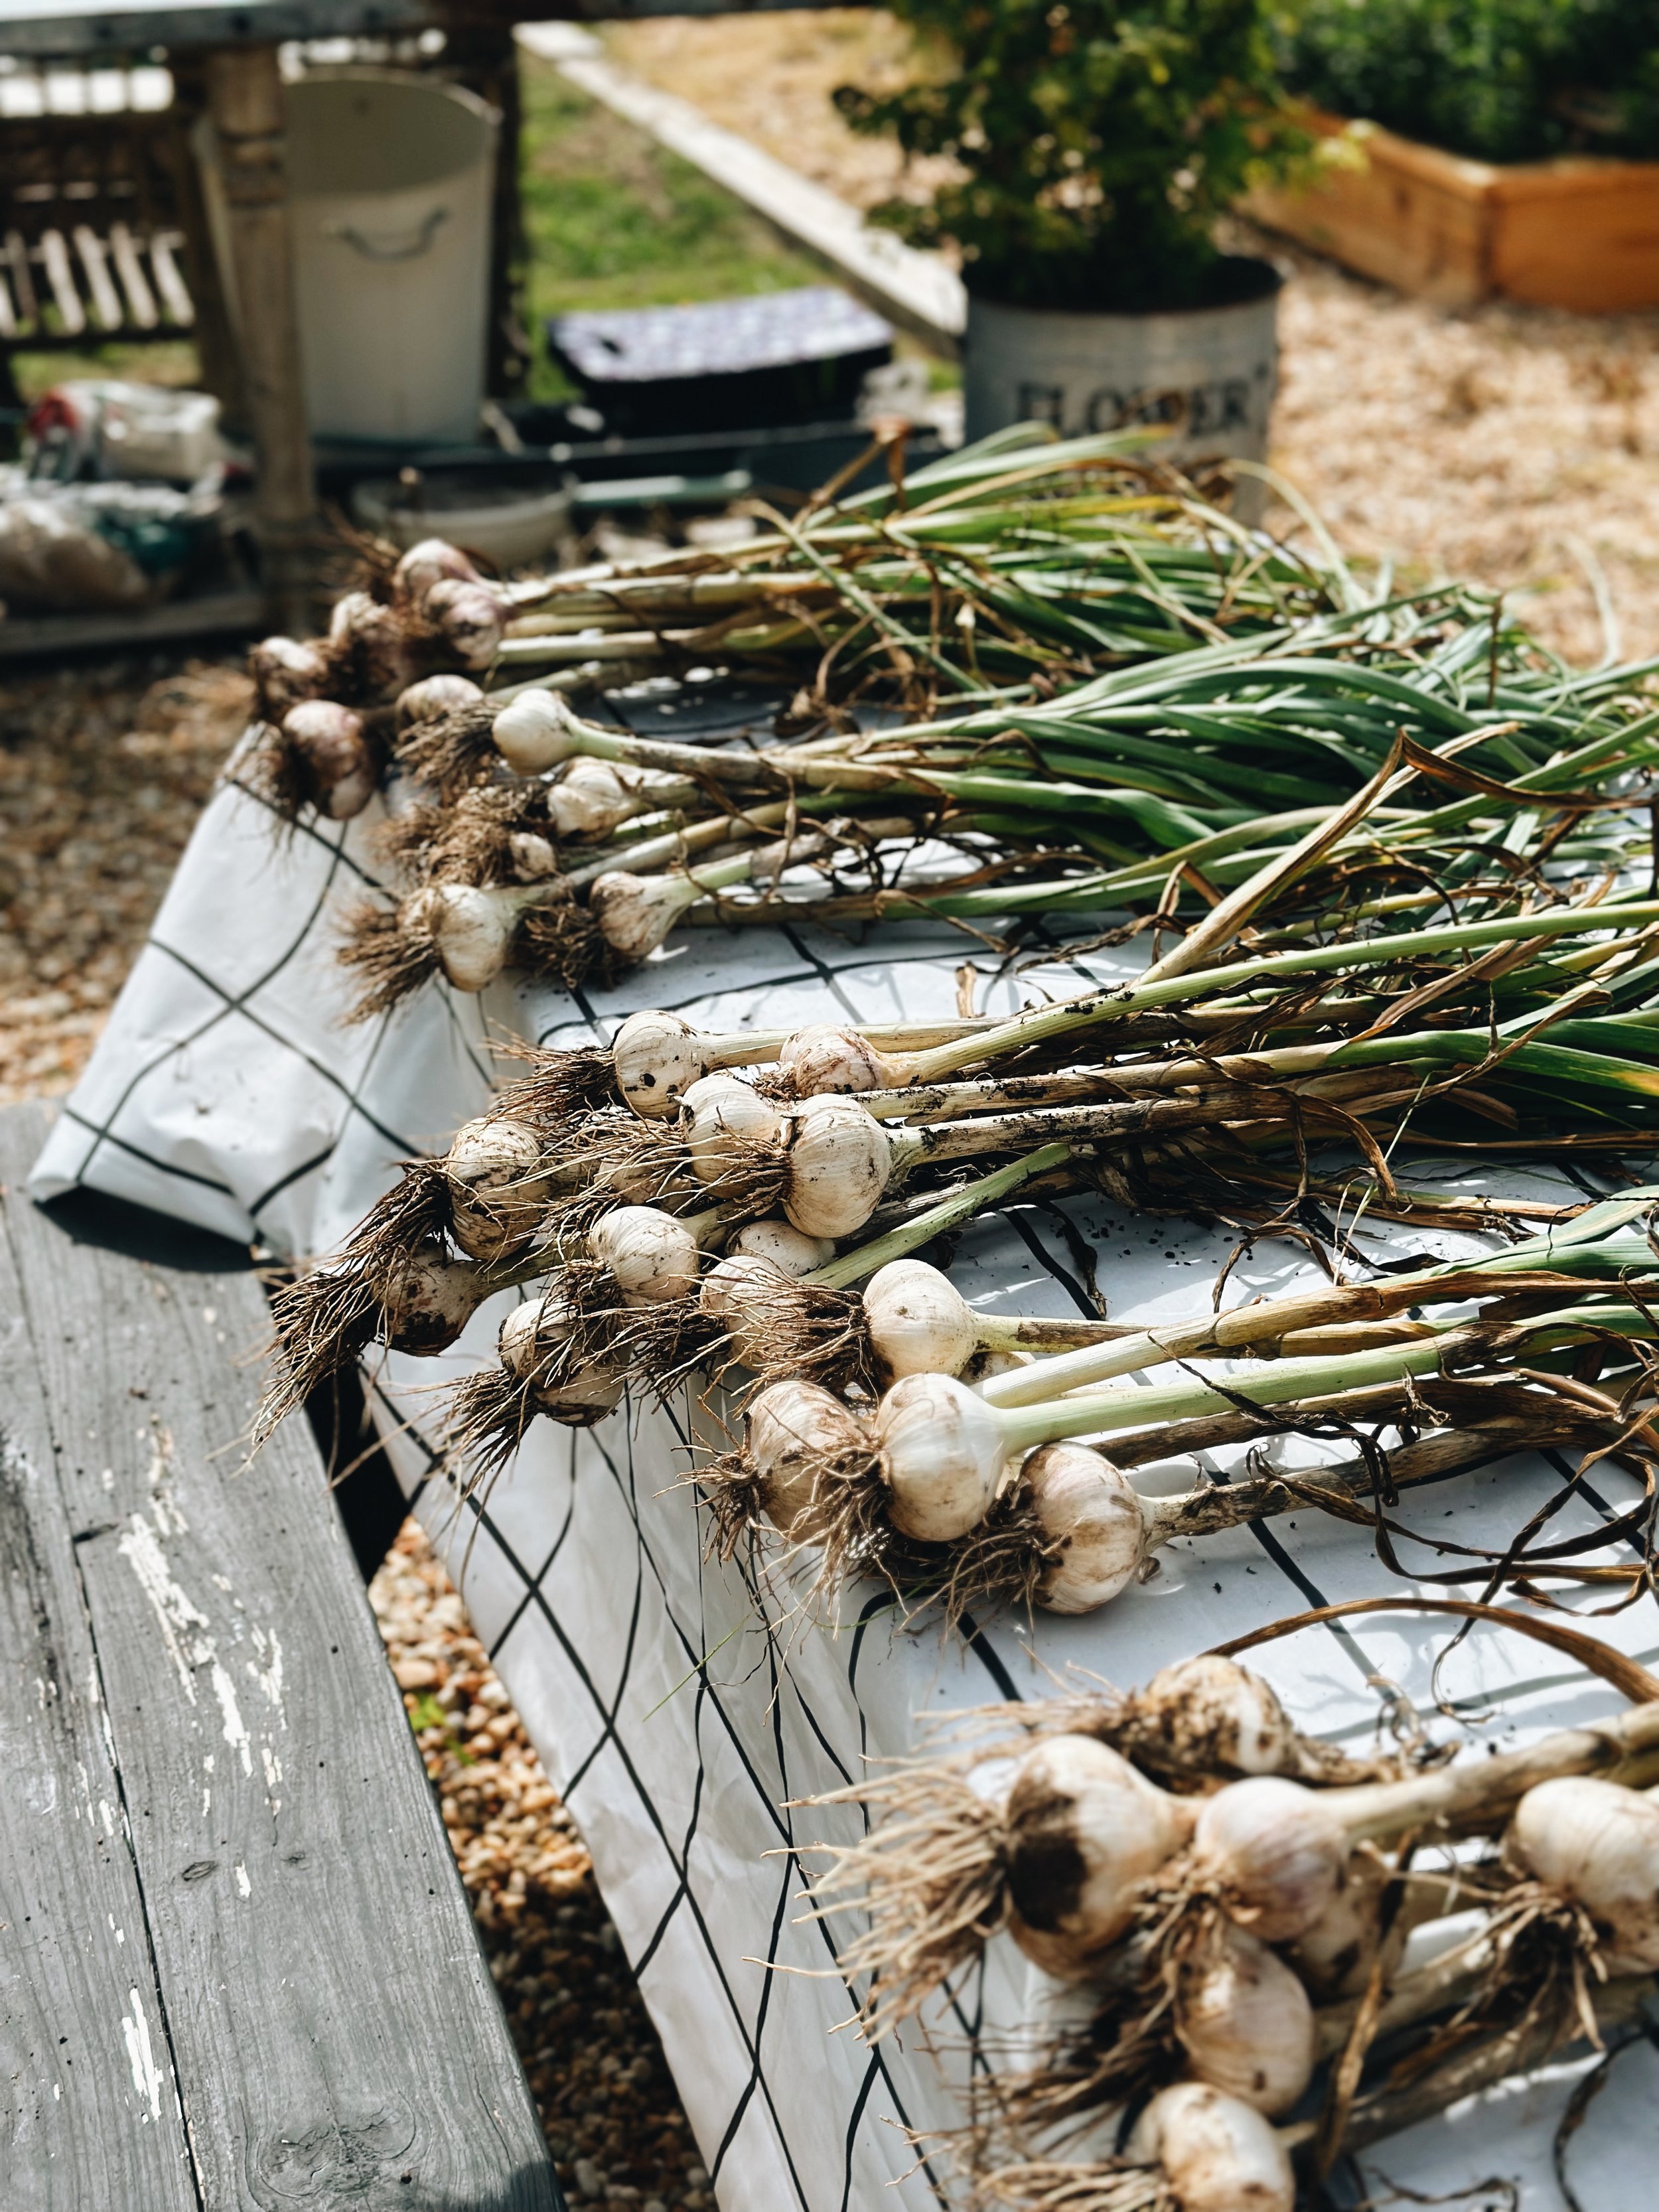
Now you have two options for how to cure them for the next few weeks:
Laying them down in a single layer or hanging them in small bunches, but don't pile them on top of each other.
I prefer to hang ours on a fencing panel, as with our onions. The garlic should not hang with its leaf tops straight above them. This will cause moisture to enter the bulb, which we don't want!
No matter where you let them dry, they should cure in a cool, shaded place, out of direct sunlight. So your kitchen, garage, or porch would be great. You also want to ensure good air circulation around the entire bulb.
I love braiding ours; it's such a fun activity with Ava, and it looks pretty! You can braid before or after curing. Note that only the soft-neck varieties can be braided. You can tie hard-neck varieties together with twine and hang them from their stems to dry.
STEP 5
Curing will take, on average, 4 weeks. It can only take two weeks in dry, hot climates, and in colder, wet, or humid climates, it can take up to 8 weeks.
Don't let the bulbs get wet, and turn them over once or twice during the process.
Garlic is fully cured once all the leaves are brown and dry, and the roots have shriveled.
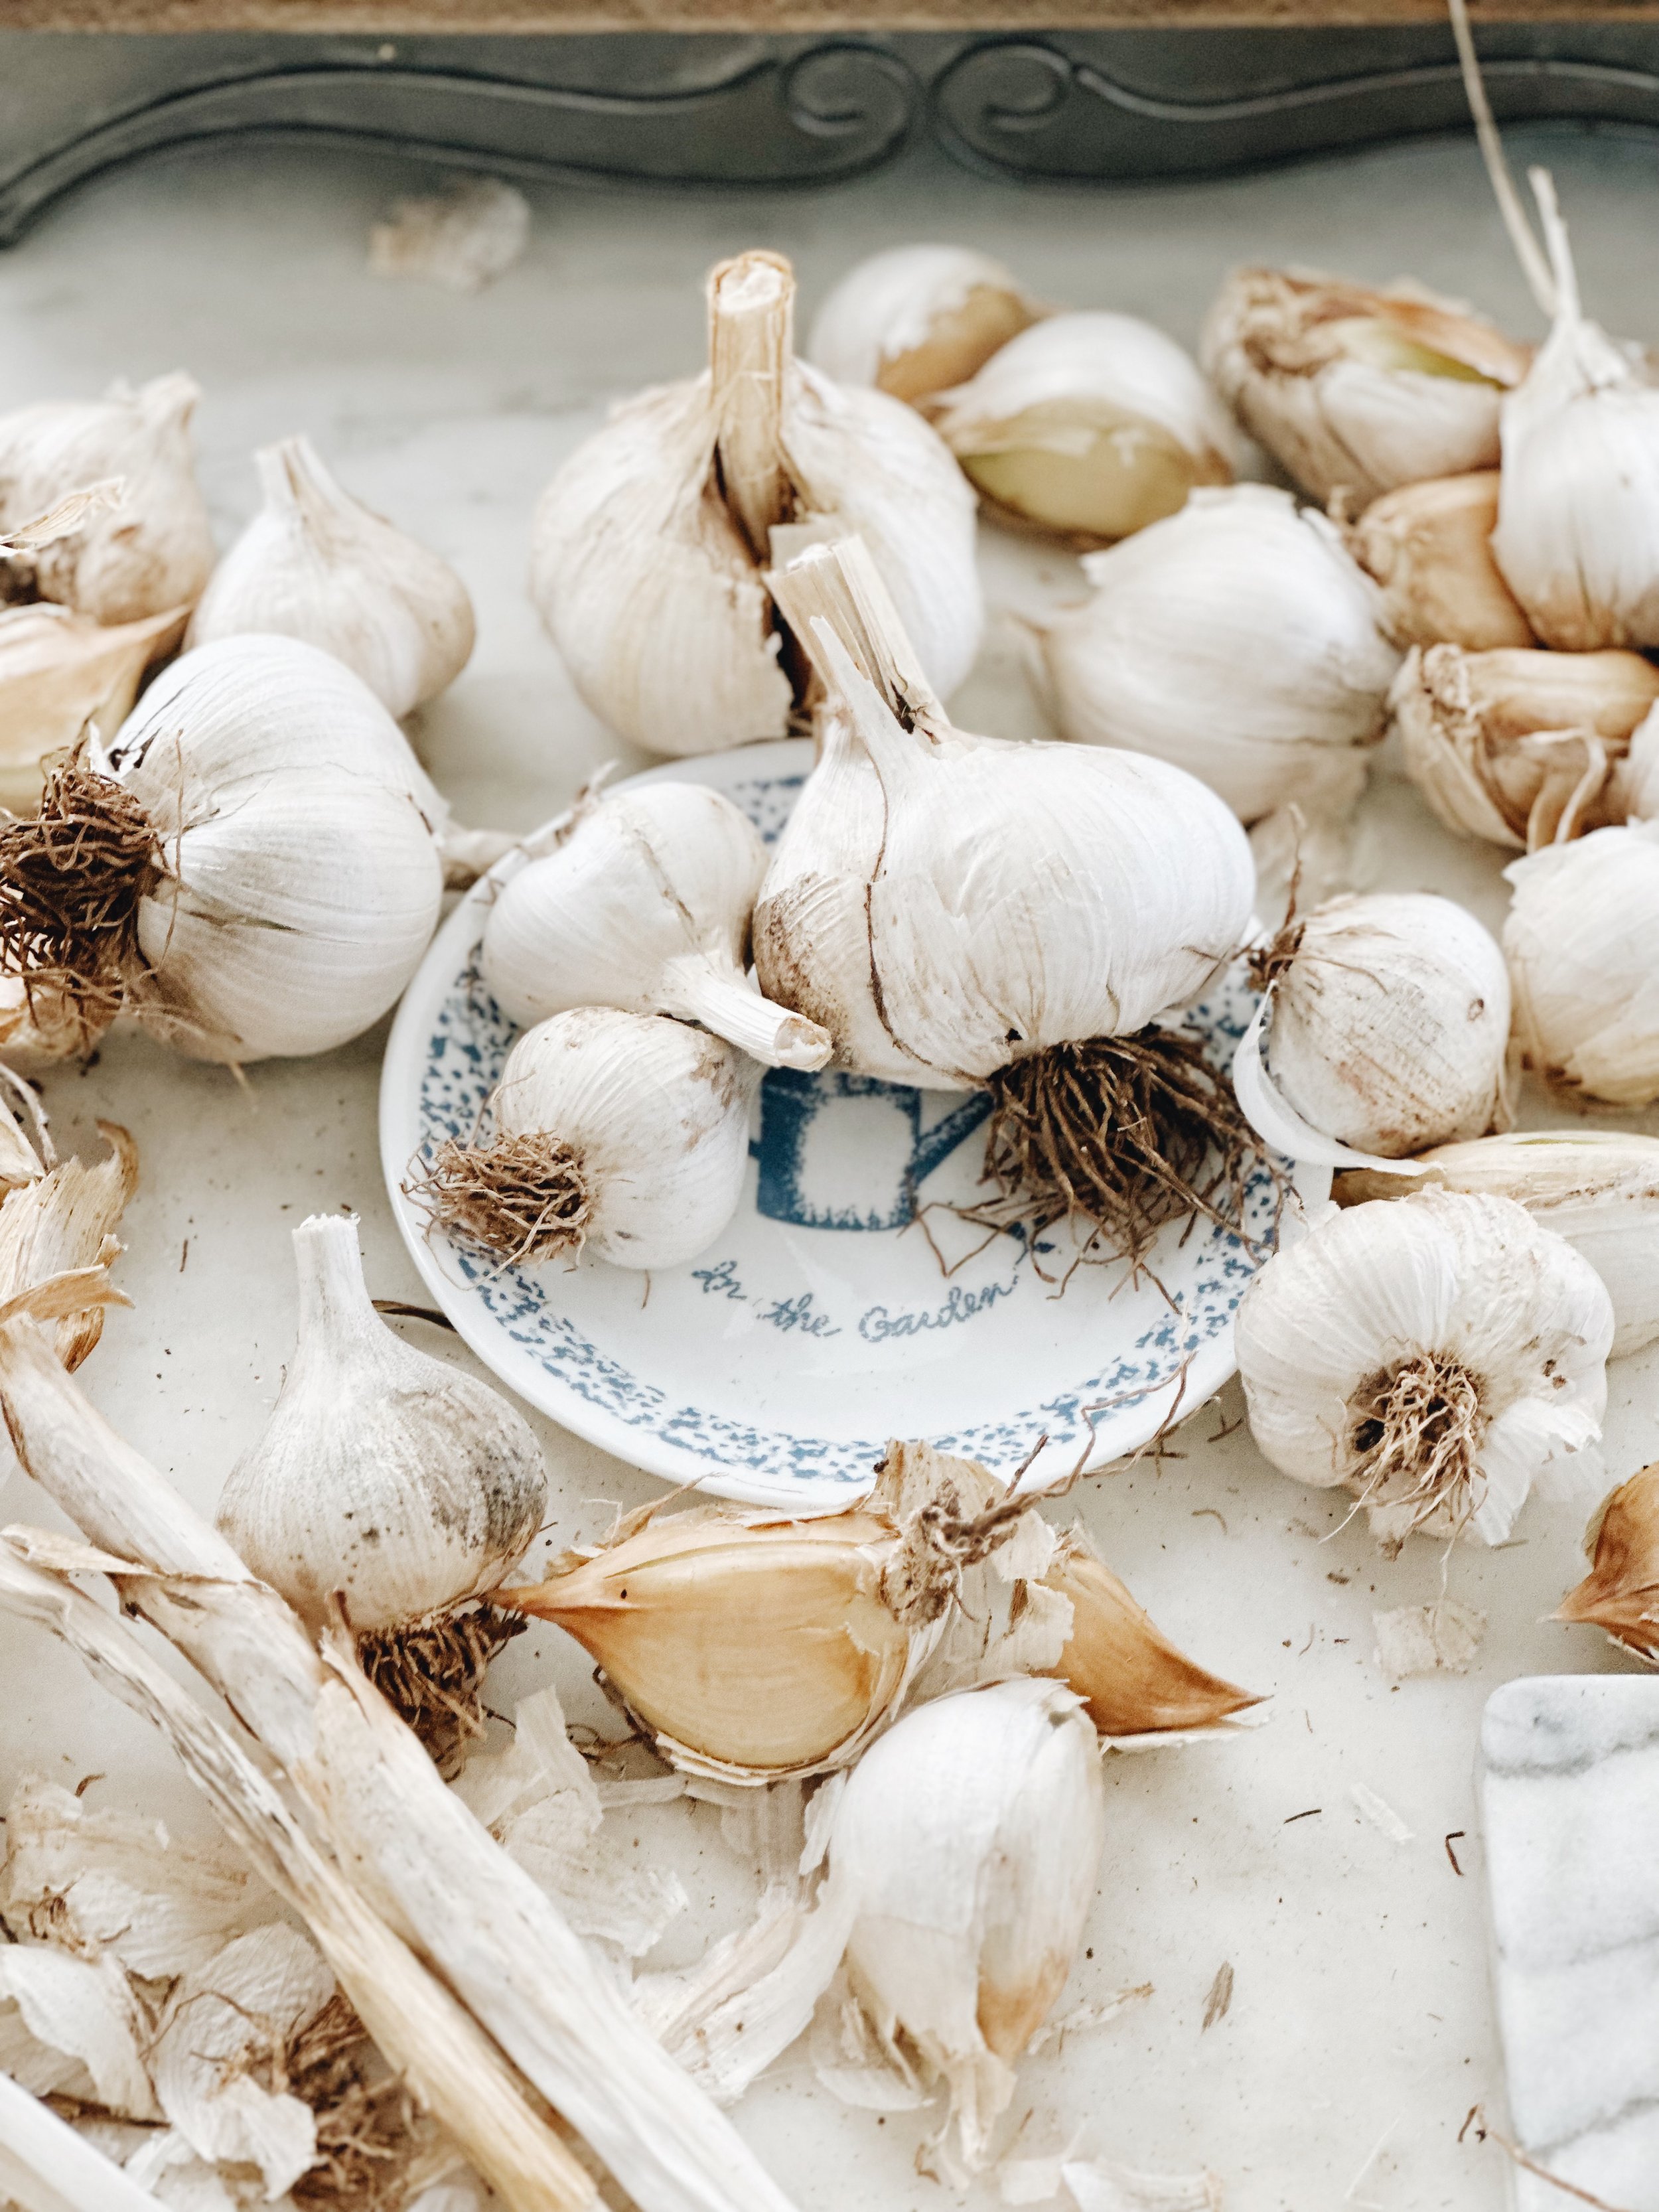
STEP 6
Now you can trim the roots and the leaves at the neck with sharp scissors. A few papery wraps may fall off, which is normal, showing a beautiful bulb! Don't remove wrappers unnecessarily, as they still protect and keep the cloves intact.
READ MORE: How to harvest, cure, and store onions


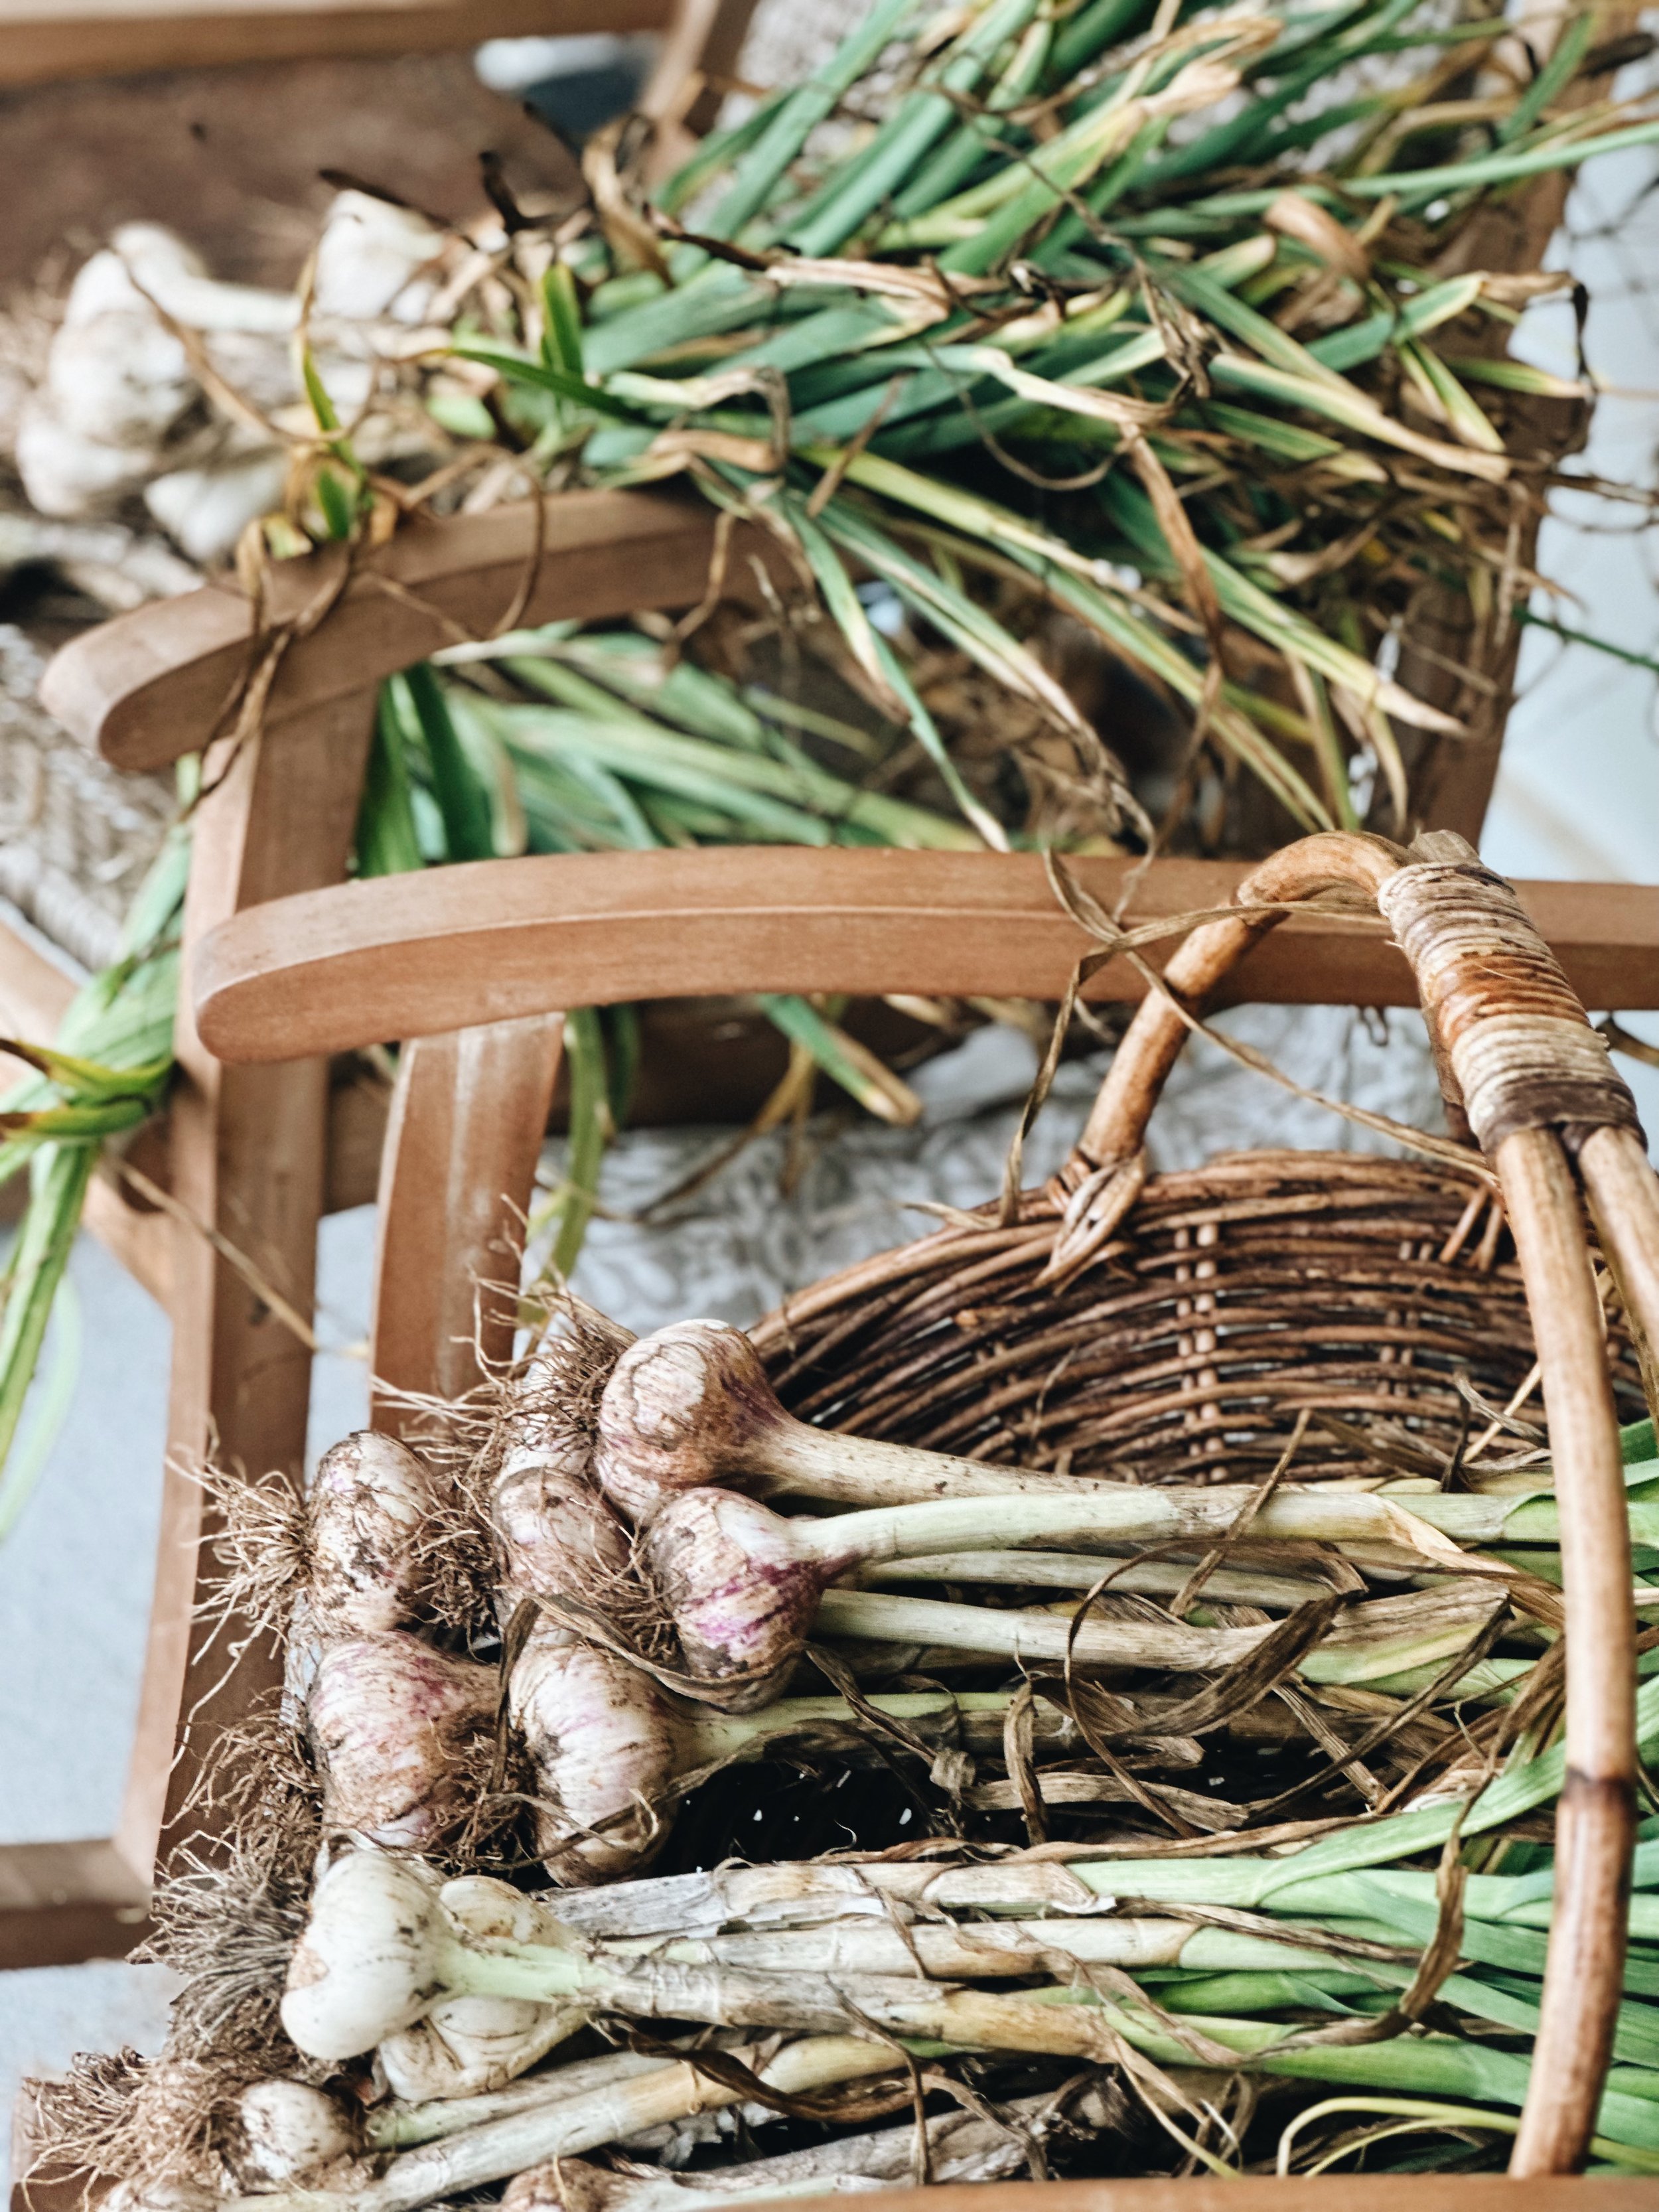
BRAIDED SOFTNECKS
How to store cured garlic
It is time to store your garlic!
If you want to enjoy your garlic for as long as 7 months (even up to a year if you are lucky), you should ideally store it at 30 to 60 °F with low humidity (60 to 70%). Low to no light is best, and there should be good air circulation.
Your garlic can certainly be stored at a room temperature of 60 to 86 °F under low relative humidity (still with good airflow), like in your pantry. But know that they may only stay fresh for 1-3 months.
Lower humidity may cause your garlic to dry out, while higher humidity can cause fungus and mold. And don't store them in the fridge for the long term, as cold temps can cause them to sprout.
Some options to store them in include: wire baskets, wicker baskets, nylon mesh bags, brown paper bags, or storage crates with holes.
Note! Softneck garlic varieties tend to have a longer shelf life than hardneck varieties.
Yeah friend, now you know how to cure garlic! It is really simple, and the wait will be absolutely worth it!
These are our preferred suppliers to order garlic from:
Summer is the time to order your seeds so you can plant them in fall. I would also advise you not to simply plant cloves from those that you got in the grocery stores. As they are often not of the best quality and are treated with all kinds of pesticides.
May you have a big harvest this year and for years to come!
Read more here on how to grow healthy, flavorful garlic bulbs!
Love, Annette xx