How to store dahlia tubers correctly in 7 easy steps
Dahlia, oh dahlia, with your eye-catching beauty, you create an extravaganza in the garden!
These gorgeous blooms sure are a show-stopper! And I am in love with them! This year we have been blessed with spectacular dahlia flowers. In this last month of fall, I am still blessed to cut some dahlia flowers for our home.
It's kind of bitter-sweet, as I know their blooming is coming to an end, and soon I need to lift the tubers out the ground for overwintering.
Dahlias are native to Mexico, so they are not particularly winter-hardy and won't survive freezing temps. They will split in freezing temps and start to mold in soggy soil. For this reason, you need to dig up your dahlia tubers and store them for the winter until spring, when all signs of frost have passed. If you live in a warm climate with no freezing temperatures you can leave them in the ground.
But don't worry, when stored properly, the same tubers can be replanted each spring and last you years! See down below for my steps on how to store dahlia tubers in winter.
I will note and say that in my zone 7b I have left tubers in the ground and they have come back. We have raised beds which I think helps!

How to Store Dahlia Tubers
STEP 1:
When to dig up dahlias? If you are in zones 7 (borderline) and colder, you usually need to dig up your dahlias before the first hard frost strikes. When the plant turns yellow and dies back, it's a good indication that the time is near, usually around late fall.
Just be careful not to dig them up too early, as the longer the roots can be in the ground, the healthier the plant will be. This allows the plant to cure and also gather and store energy for the next growing season. Sometimes a little light frost is totally acceptable.
One thing I have done and has worked okay in my zone is wait until it freezes. Meaning, there is usually a mild frost that kills the dahlias before we get the true freezing weather. I cut the tops and let them sit in the ground another week or two. This allows it to gather energy for next year. Then I life from the ground and follow the steps below.
If you live in warm regions and your ground does not freeze, such as the far Southeast and Southwest, lucky you! Your dahlias can over-winter in the ground and grow as perennials.
STEP 2:
Cut the stalks about a few inches above the ground. If you want the eyes to come out, so the clumps are easier to divide, cut a few days before digging. Just make sure you cover the hollow stalk with some foil to prevent water from entering, which could cause rot and ruin the tubers.
When cutting the stems and dividing the clumps (more on this below), always dip your scissors in a solution of one part bleach to ten parts of water before switching between one plant and the next. This way, you will avoid spreading viruses between the plants.
STEP 3:
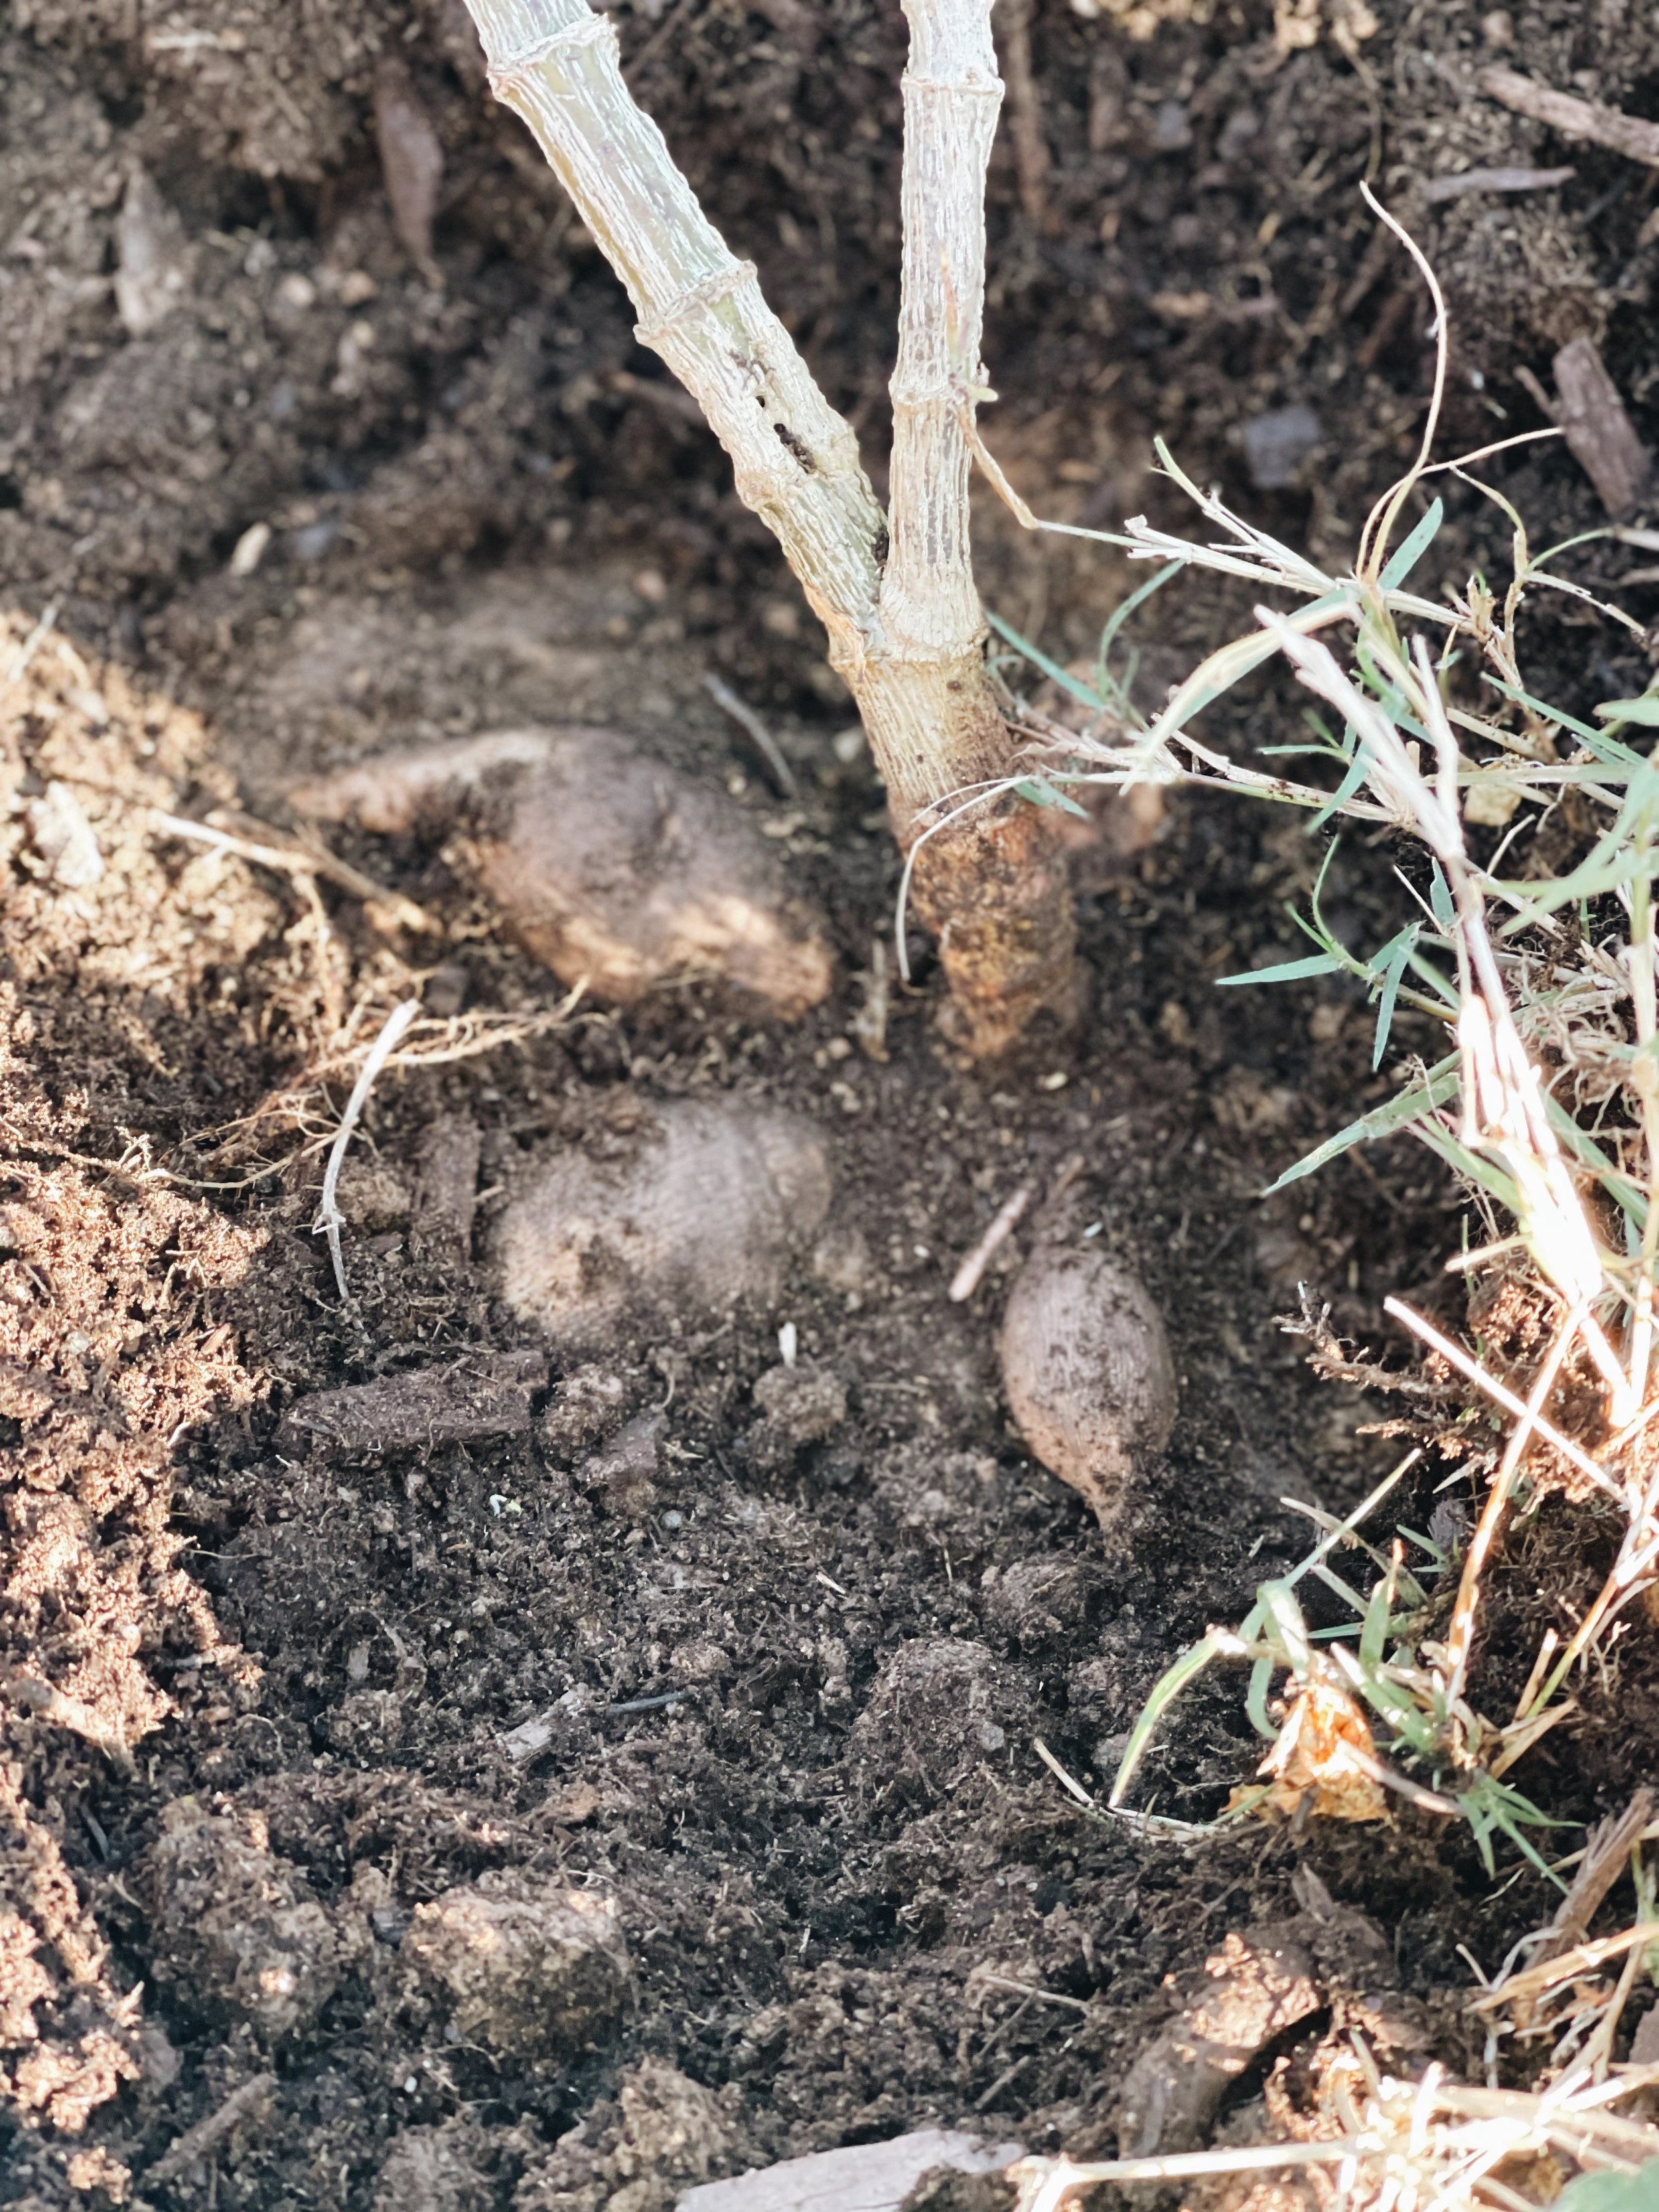
Using a garden fork, carefully dig 1 foot around the plant's main stem. Be sure not to hurt any roots. Push a shovel or garden fork under the clump and lift carefully. A dahlia tuber's neck is very fragile at this stage, so you could leave it out to dry and harden a few hours before continuing.

STEP 4:
Shake off any excess dirt and wash the tubers in a tub or with a hose. No dirt should be left as it contains microorganisms that are not ideal when stored. Cut away any rotten parts that may affect the rest of the plant and other tubers.

STEP 5:
If the tubers have several eyes you can choose to divide now or in the spring before planting. I have done both methods. Decide what is best for you. If you divide now do so with a sharp knife. The eyes of dahlias are the set of cells that produce the next season's plants and blooms. They almost look like pimples! If you can't identify them in the fall, wait until the spring to divide your tubers, as they may be more visible by then. This is why I will usually just wait.
While cutting the clumps, carefully inspect the divisions and throw away the mother root. Also, remove all of the stems as it can lead to crown rot. After cutting the divisions, rewash to remove any dirt missed.
STEP 6:
Leave the tubers to dry for several days, sometimes weeks, before storing them to cure and prevent mold issues. Let them dry somewhere the temperatures won't dip below freezing, has good air circulation and indirect sunlight. When the skin has started to wrinkle, they are dry enough.
STEP 7:
Now they are ready to be stored! Store in a cool, dry, and dark place such as an unheated basement, attic, or closet to keep them healthy until next season. Make sure it's a place that's not prone to mold and moisture build-up. The ideal storage temperature is 40 - 45 degrees F.
Place the tubers in crates, plastic bins, styrofoam, wood, or cardboard containers with coarse vermiculite separating layers. If you use a wood or cardboard box, moisture could escape from the vermiculite. I have stored them in peat moss before.
To retain the moisture, use newspaper to line all sides of the container and keep the top of the container closed. Ensure there is enough ventilation between the tubers.
Remember to check your tubers frequently during winter for any signs of rot. Remove affected roots, so they don't spoil the rest.

And that’s it friends, it does not have to be complicated. Hopefully this makes it simple to understand. May your precious dahlias survive this winter and come alive again next season! If you have any questions, please don’t hesitate to reach out to me on my Instagram page @Azurefarm.
PIN FOR LATER
